Fabric Formed Concrete Fire Table
FIVE: FINISHED FIRE TABLE
After finishing, the piece can be placed on location and the burner can be installed by a certified professional.
What You’ll Need
- Stinson Fire Table Instructional Drawings
- 19″ Burner Assembly
- Control Box
Step 1 – Install Burner
Previous: Demolding![Fabric Formed Concrete Fire Table - Demolding | CHENG Concrete Exchange](https://www.concreteexchange.com/wp-content/uploads/2014/08/fabric-formed-concrete-fire-table-demolding-step-2-2.jpg)
![Fabric Formed Concrete Fire Table - Demolding | CHENG Concrete Exchange](https://www.concreteexchange.com/wp-content/uploads/2014/08/fabric-formed-concrete-fire-table-demolding-step-2-2.jpg)
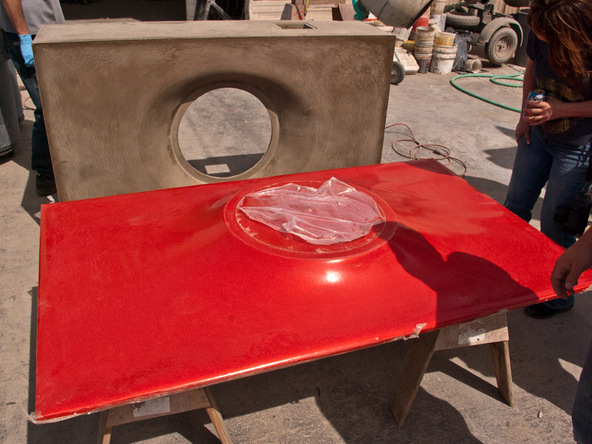
After the piece has cured for 12-24 hours, it can be removed from the formwork. Before demolding, the project is ground flat on the bottom edge.
Next: Fire Table Variation![Fabric Formed Concrete Fire Table - Fire Table Variation | CHENG Concrete Exchange](https://www.concreteexchange.com/wp-content/uploads/2014/08/fabric-formed-concrete-fire-table-variation-step-6-1.jpg)
![Fabric Formed Concrete Fire Table - Fire Table Variation | CHENG Concrete Exchange](https://www.concreteexchange.com/wp-content/uploads/2014/08/fabric-formed-concrete-fire-table-variation-step-6-1.jpg)
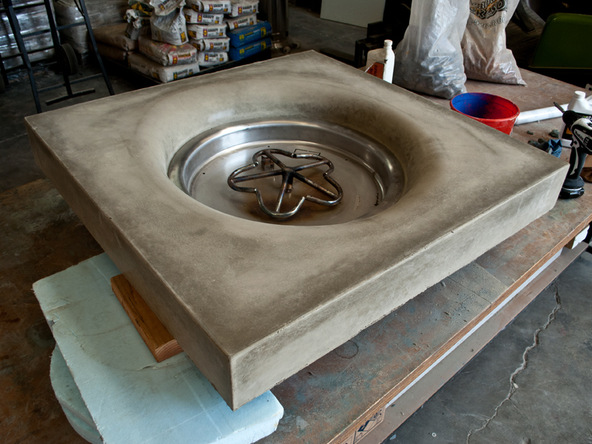
In a subsequent training we decided to create a smaller fire feature with lower side walls to reduce the time we spent laying up the higher walls.