Hand-Pressed Concrete Storage Stool

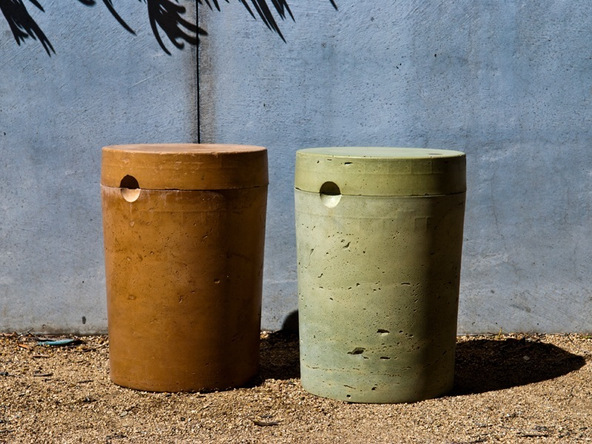
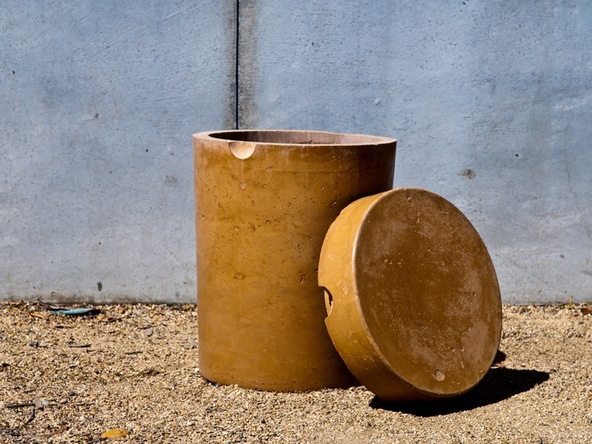
This project uses a 5-gallon bucket to make a two-part stool with lid. It’s a relatively easy project to complete, requiring only basic hand tools and inexpensive forming materials. The result is a versatile side table, storage container, stool, or planter that works indoors or out. Add decorative aggregate to the lid and polish the top for a unique look. Most of the form can be cleaned up and re-used, so it’s possible to make a set without wasting a lot of material.

What You’ll Need
  • Jig Saw
  • Paddle Mixer
  • Ruler
  • Compass
  • Drill Bit
  • Cordless Drill
  • 100% Door and Window Silicone Caulk
  • CHENG Corner and Seam Shaping Tools
What You’ll Need
  • Caulking Gun
  • Hand Saw
  • Clear Packing Tape
  • Denatured Alcohol
  • 3/4″ Melamine
  • 5-Gallon Buckets (2)
  • CHENG D-FRC Casting Blend
  • CHENG SmartColor Pigment
  • CHENG D-FRC Activator
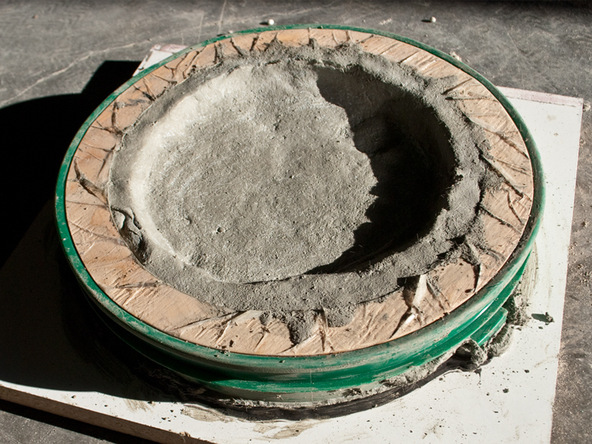
Step 1 – Make the Lid Form

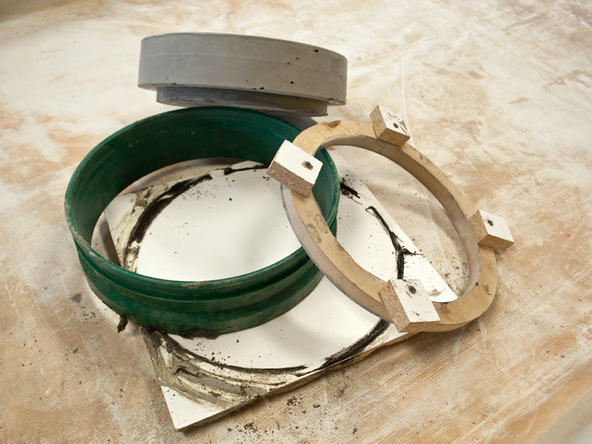
  • Cut the top off of a 5-gallon bucket with a hack saw.
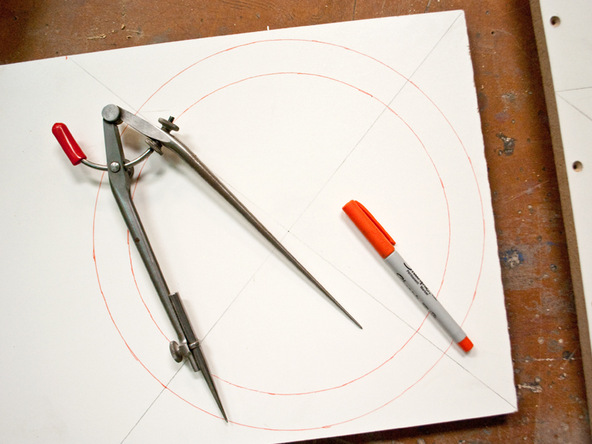
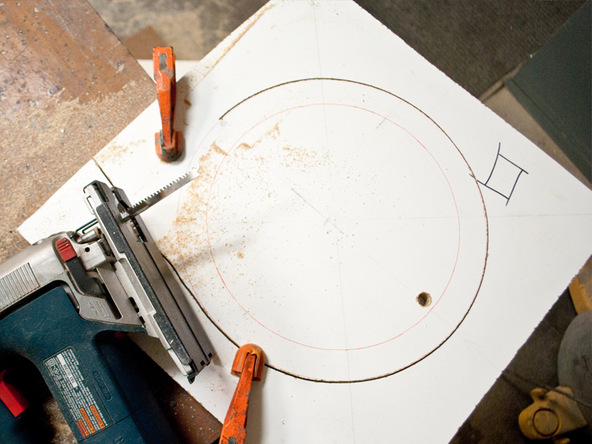
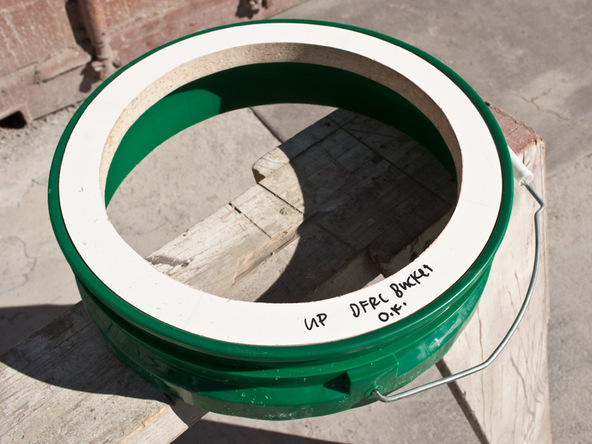
  • Measure the diameter of the rim and cut a ring from 3/4″ melamine to fit.

    •    Make the ring the same thickness you want the final piece to be – 1″ thick in this example.
    •    Use a compass to draw the shape and cut it out using a jigsaw.
    •    The ring should fit snugly inside the rim of the 5-gallon bucket.

Step 2 – Lid Form Knockouts

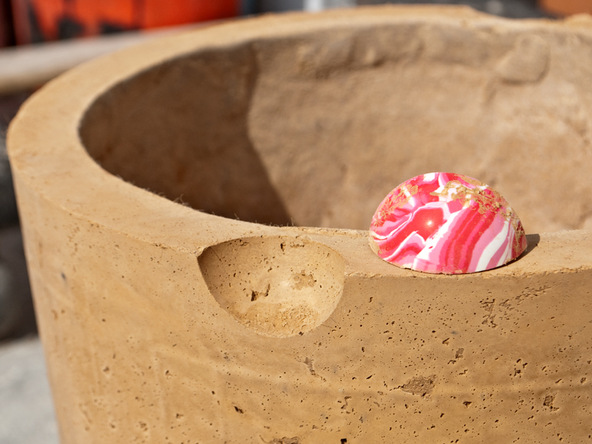
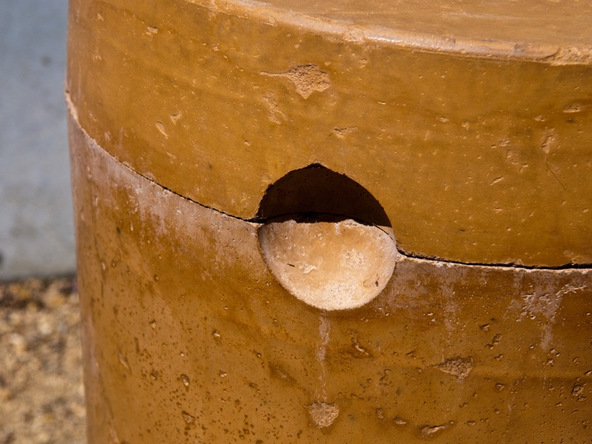
  • This step is optional, but it will create small divots in the concrete that make it easier to lift off the lid.
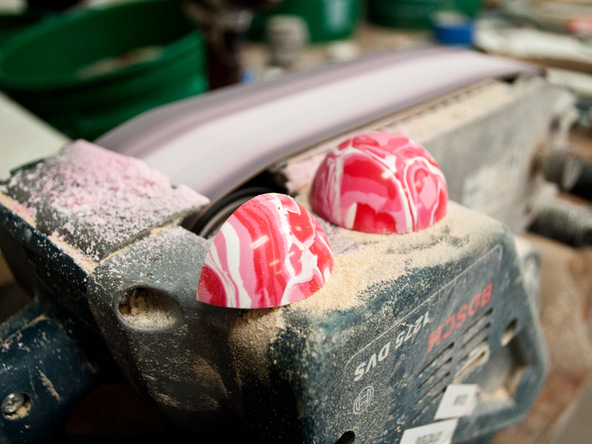
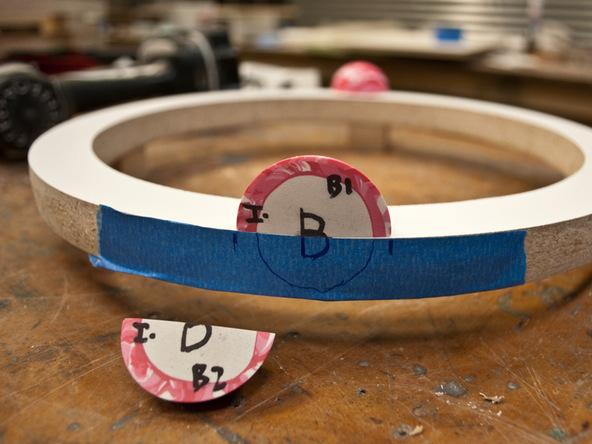
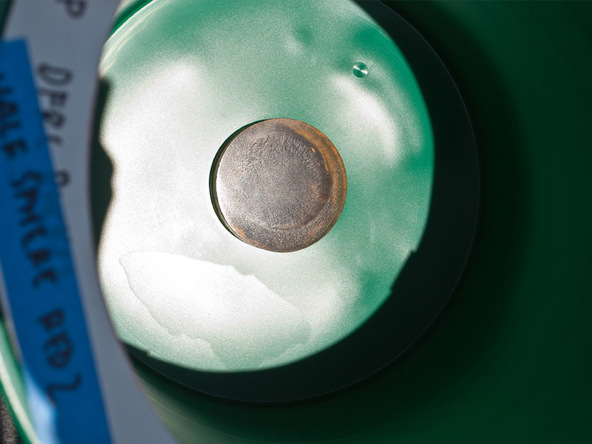
  • Cut a bouncy ball into sections on the band saw.
  • Use a belt sander to round over one of the flat sides so the rubber knockout matches the shape of the ring (and fits smoothly against the wall of the bucket).
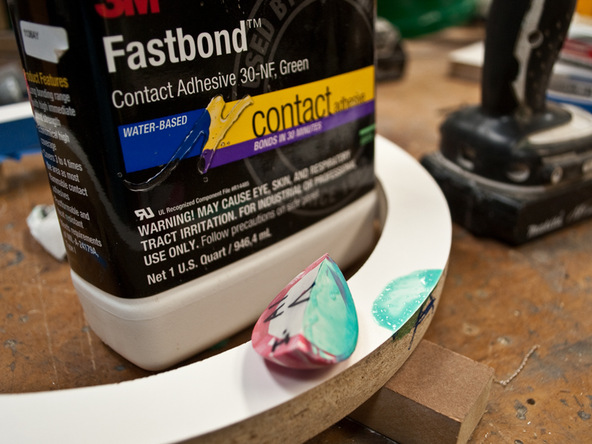
  • Mark where the rubber knockout will be placed and attach it using contact cement. Spray adhesive or silicone caulk might also work, but contact cement will provide a very strong bond.

Step 3 – Attach Wood Stops

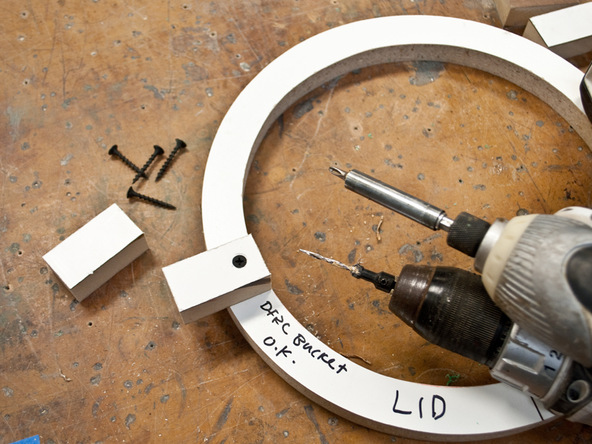
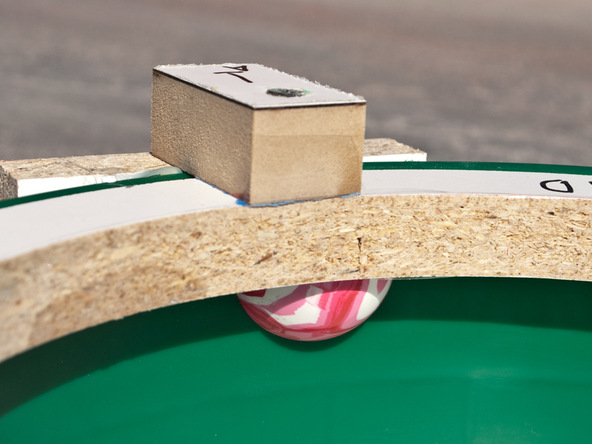
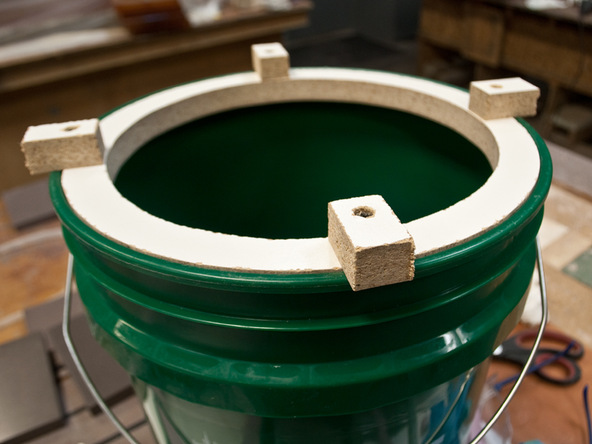
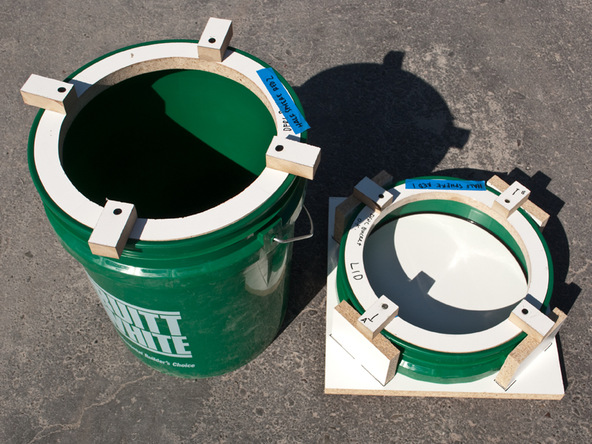
  • Install a few short pieces of wood to act as stops for the ring.
  • The ring will only go so far down into the bucket, because it’s tapered, but these stops will help keep the ring in position during casting.

Step 4 – Attach the Lid Form to a Baseboard

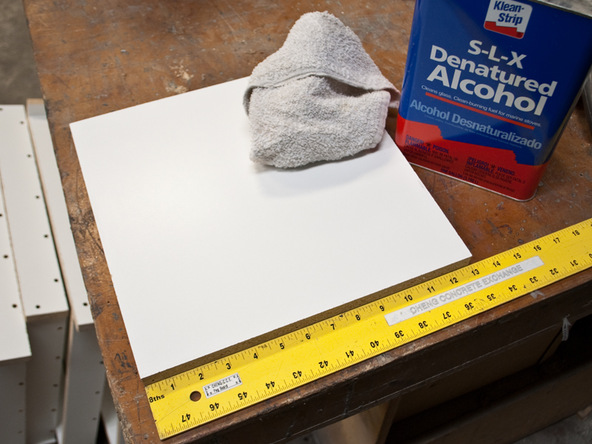
  • Clean up a piece of 3/4″ melamine-coated particle board (16″ x 16″).
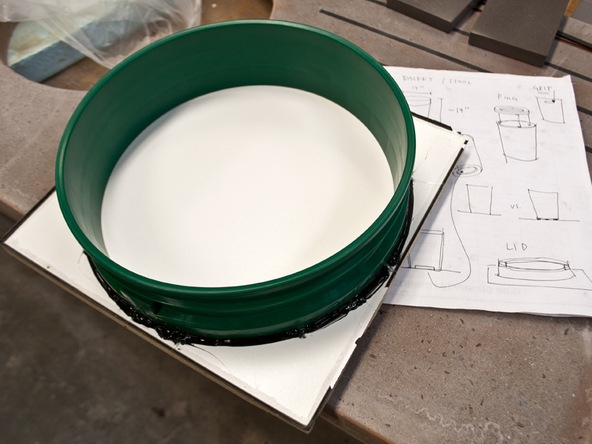
  • Lay the top of the bucket on the board and tack it in place using hot glue if necessary.
  • Silicone around the inside and outside of the bucket to help secure it in place and make it water-tight.
  • Use the Corner and Seam Shaping Tools Guide to get a perfect round-over on the inside edge.

Step 5 – Main Form

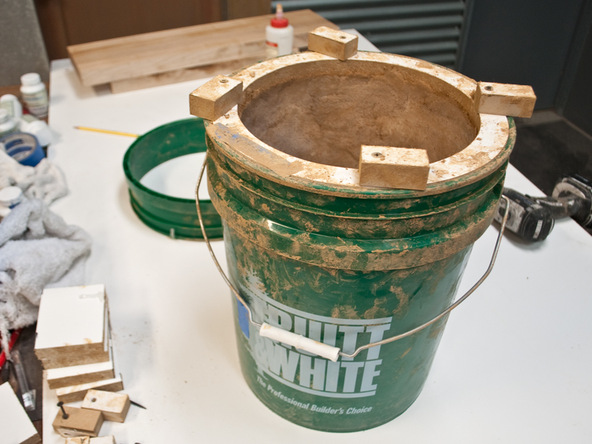
  • The main form needs a ring to drop in, just like the lid form.
  • If the finished piece is going to be a planter, glue a piece of cork or a rubber knockout to the bottom of the bucket.

    •    This will also act as a guide so you know how thick the piece needs to be. In this case, the rubber knockout is 3/4″ – 1″ thick.

Step 6 – Forms Ready to Cast

  • Blow out any dirt and debris from the forms and clean them thoroughly with denatured alcohol before casting.
  • Add any decorative details at this point, such as decorative aggregate in the lid, rubber stamps, inlays, or leaf impressions.

Step 7 – Mix the Concrete

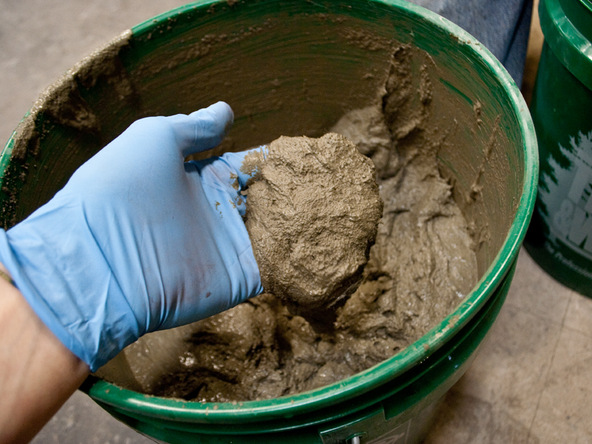
  • The fiber-reinforced concrete mix used here is Surecrete Xtreme Pre-Cast or CHENG D-FRC Casting Blend.
  • Mix the concrete to a clay-like consistency, not too wet. This will make it easier to pack it into the form without it slumping down.

Step 8 – Hand-Pack

  • Pack the bottom of the bucket with concrete first, about 3/4″ thick.
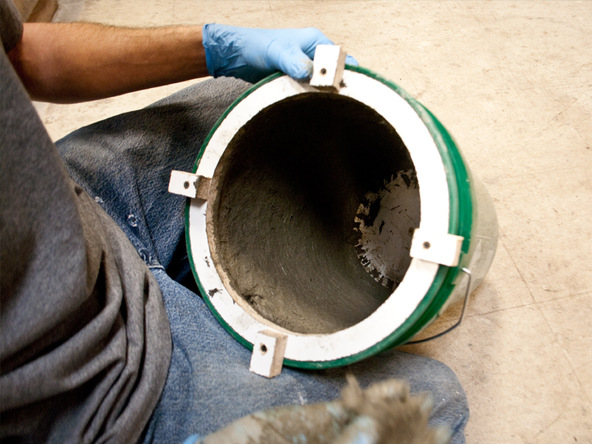
  • Then begin working your way up the sides. It helps to tilt the bucket at an angle and rotate it as you go around.
  • Don’t try to pack too much at once – it will slump down if it’s too wet or if the concrete is agitated.
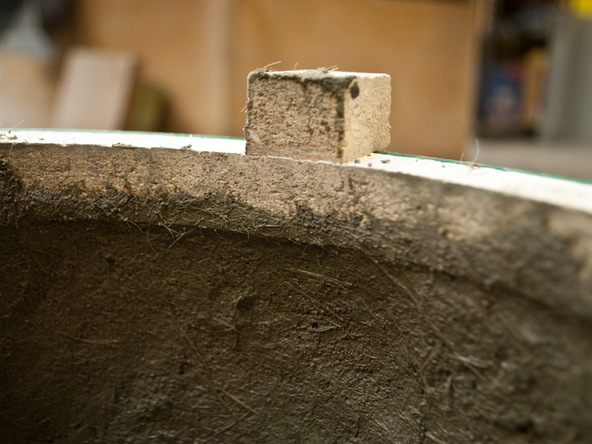
  • Place a pad of concrete and spread it out to about 1/4″ thick, pressing it against the form.
  • Build up multiple thin coats, like painting, instead of trying to do too much at once.

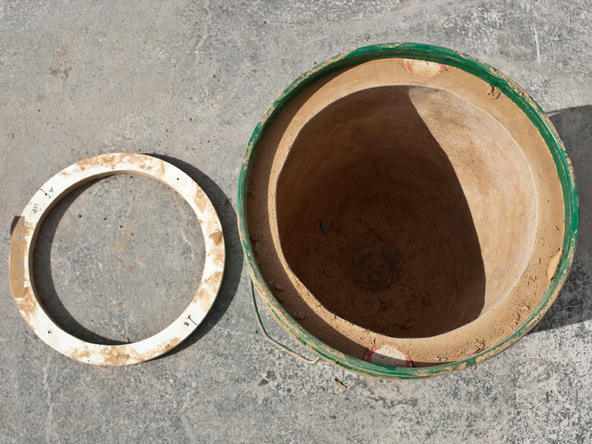
Step 9 – Cure and Demold

  • After the pieces have cured overnight, they can be removed from the forms.
  • Break the silicone seal to the baseboard by holding the piece and hitting the baseboard against something to move it sideways.
  • Then the outside form can be slipped off of the concrete.
  • Use a diamond hand pad to sand away the concrete if it’s preventing the wooden ring from being pried out.
  • Carefully pry the wooden ring off of the concrete.

Step 10 – Cure and Demold

  • After the main form has cured overnight, it’s ready to be removed from the form.

Step 11 – Main Form Demolding

  • Remove the wooden ring from the top of the bucket.
  • Pry the edges of the bucket away from the concrete to loosen the bond.
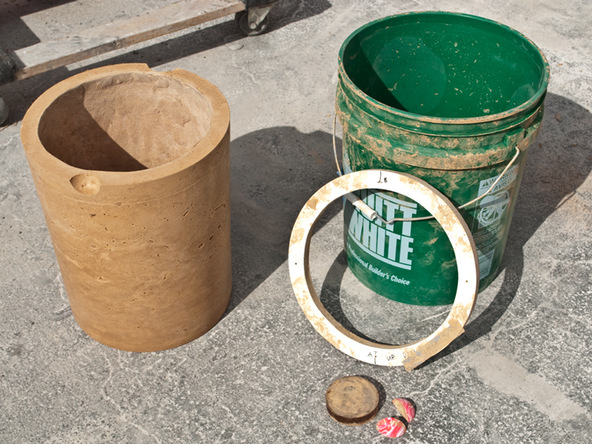
  • Flip the piece over and gently drop it down on a flat surface, over something soft like a towel to prevent chipping.
  • The weight of the piece will let it drop out of the form.
  • If necessary, blow down the sides of the bucket with compressed air to further break the bond.

Step 12 – Finished Concrete

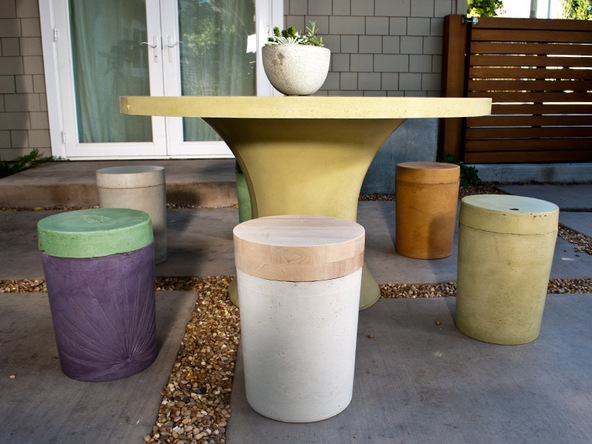
  • The finished concrete stools weigh about 50 lbs. each.
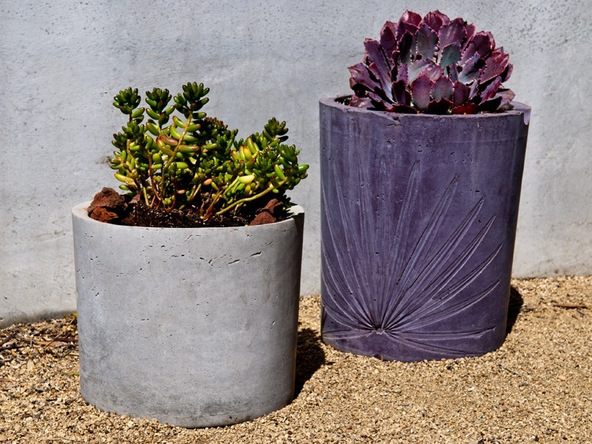
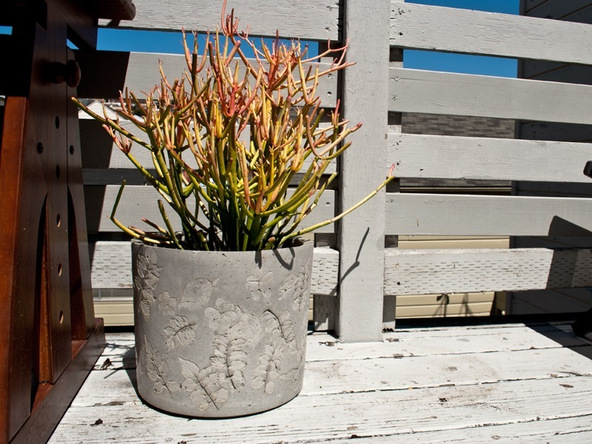
  • They can be used as storage containers or planters, indoors or outdoors.

Step 13 – Finished Concrete Planters

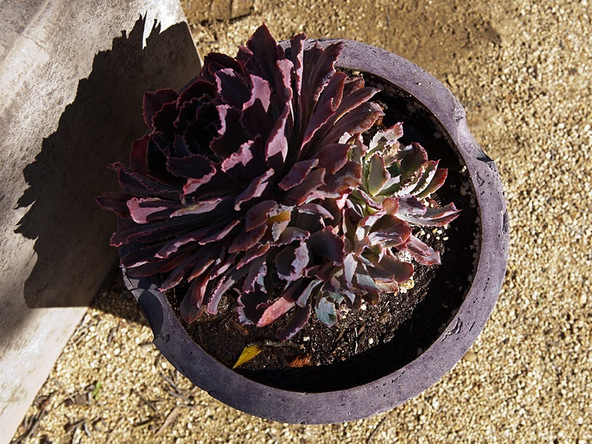
  • If the planters are going to be used outdoors, consider casting a drain hole in the bottom, using a cork knockout or something similar.

Step 14 – Finished Concrete

Leave a Reply

Your email address will not be published. Required fields are marked *