
CREATE CONCRETE PROJECTS WITH CONFIDENCE
Whether you’re experimenting with concrete for the first time, or have some experience and want to try something new, we have a variety of free step-by-step concrete how-to guides. Learn how to polish concrete or select an entire project, like how to make concrete countertops and furniture.

HOW TO MAKE PRECAST CONCRETE COUNTERTOPS
These free step-by-step DIY concrete countertop instructions cover the precast method. The concrete countertop design has its own set of material requirements and essential techniques.
See the Guides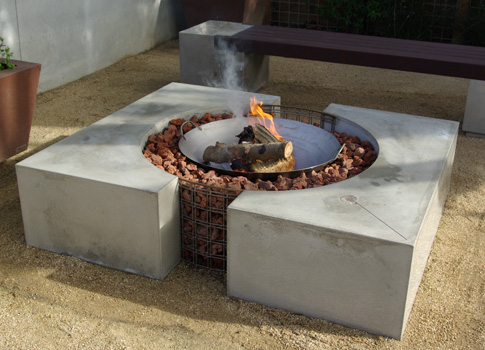
CONCRETE FURNITURE
Learn how to make concrete furniture for interior or exterior settings with these step-by-step guides. Both fiber reinforced concrete and traditional concrete casting methods are explored in these thorough training guides about building concrete benches, tables, chairs, and fire tables.
See the Guides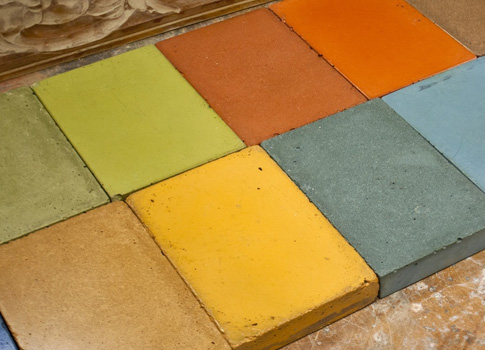
MANAGING CONCRETE COLOR
Managing concrete color requires a keen understanding of the variables that impact the final appearance of a concrete casting. From the cement selection through to the choice of sealer, every decision will have an impact on the final appearance of your concrete project. Diligent note-taking and record-keeping are the keys to successfully reproducing a sought-after finish.
See the Guide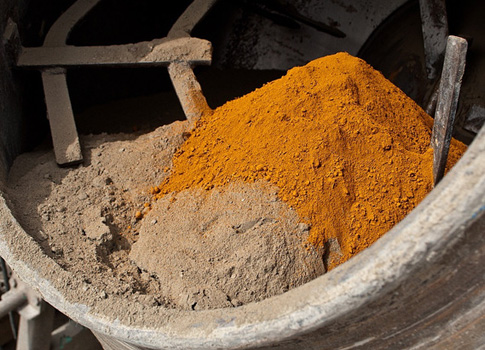
CONCRETE MIXES AND ADDITIVES
The chemistry of concrete is constantly evolving with new materials and methods debuting on, what seems like, daily regularity. In these trainings we’ll keep you up to date on the classic techniques for casting concrete along side discussions about the newest concrete methods and materials.
See the Guides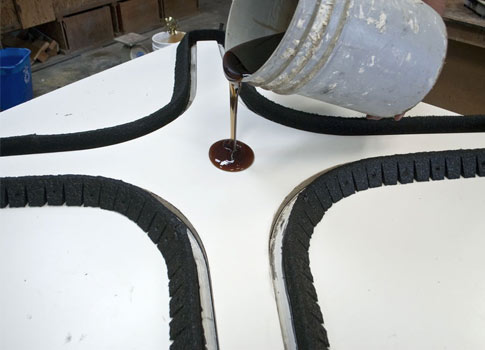
FORMS AND MOLDS FOR CONCRETE
The quality of each concrete casting is dependent upon the quality of its mold. Your portfolio of mold making skills should include wood forms, rubber molds, fiberglass, plaster, and even metal form construction. The how-to guides found in this section delve into many essential mold-making methods.
See the Guides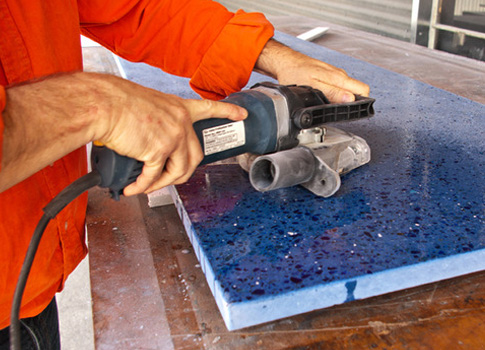
POLISH AND GRIND CONCRETE
Polishing skills are critical to any project’s success. There are a range of finishes possible from a single piece of concrete. Deeply grinding the surface will expose the large aggregate in a mix, while a light polish with diamond polishing pads will yield a surface where only small sand particles are visible.
See the Guides