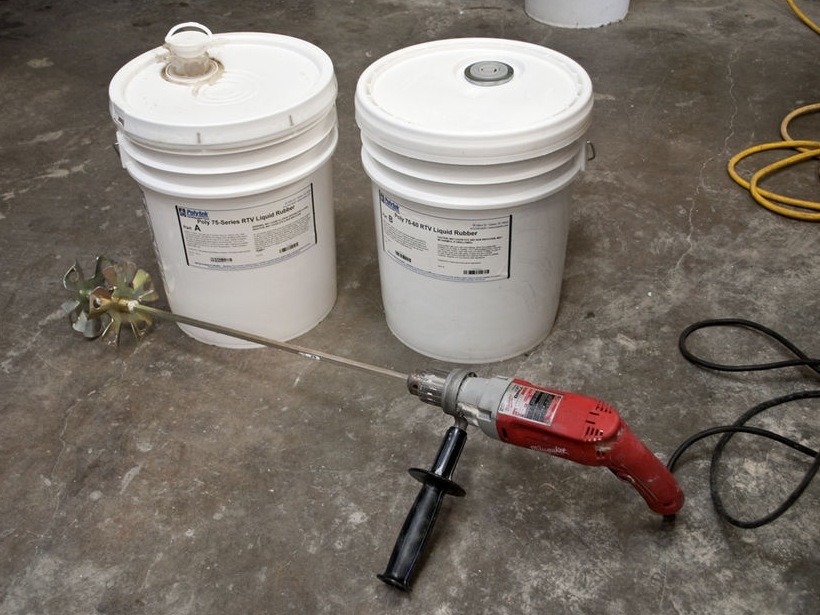
Mixing 2-part Polyurethane Mold Rubber
For this project we used Polytek 75-60 Polyurethane Rubber. The number 60 refers to the shore hardness of the rubber, which is a mid-range hardness. A lower number means a softer rubber, and a higher number means a harder rubber. In this case, we need the rubber to bend but still hold it’s shape, so a 60 series should work well.
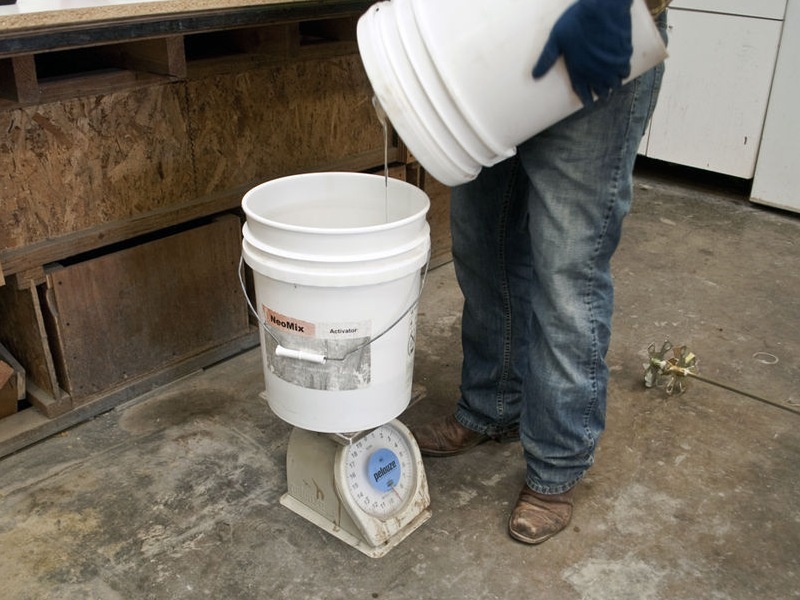
This mold rubber is 2-part in a 1:1 ratio. Mix 1 part A to 1 part B, by weight.
What You’ll Need
- Polytek 75-60 Polyurethane Mold Rubber
- Pol-Ease 2300 Mold Release
- Poly Purge Dry Gas Blanket
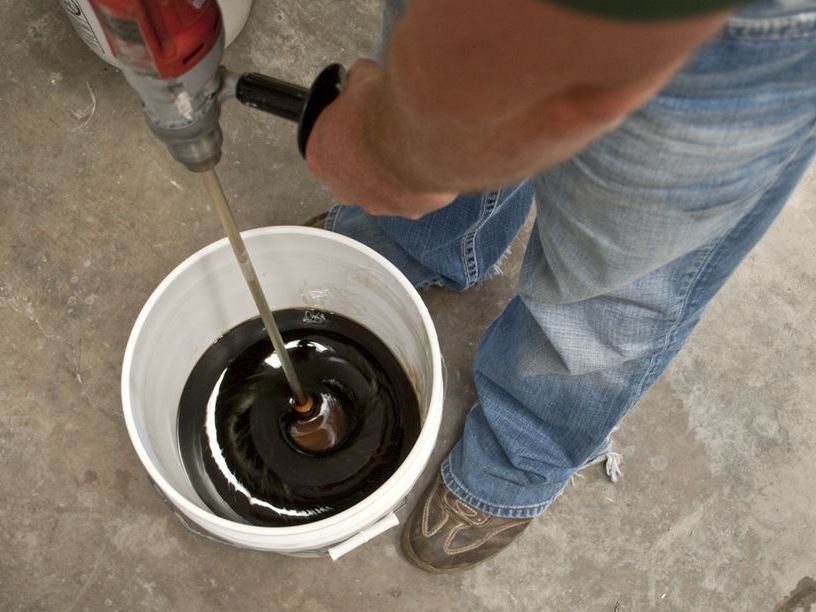
- Electric Drill
- Scale
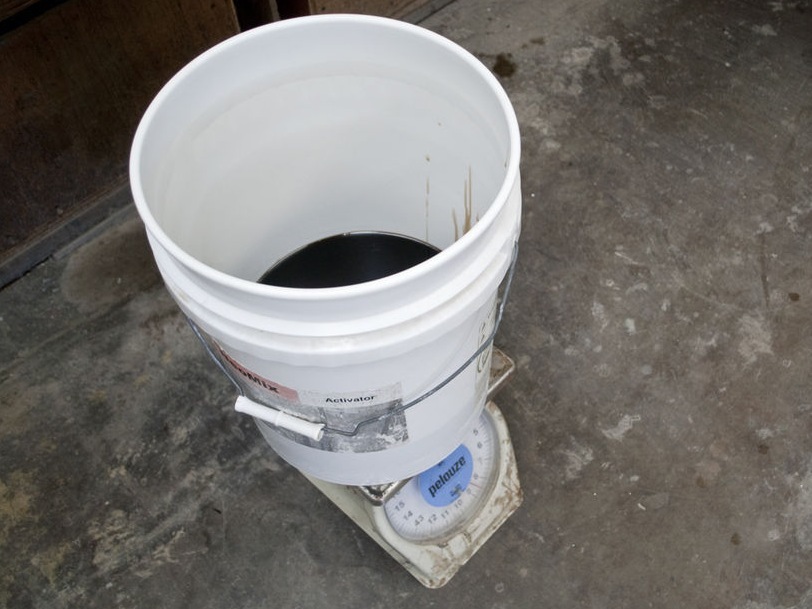
Step 1 – Prepare for Mixing
Step 2 – Weight Out Part B
Step 3 – Add Part A
Step 4 – First Mix