Recycled Glass Countertops

FIVE: GRINDING AND DEMOLDING

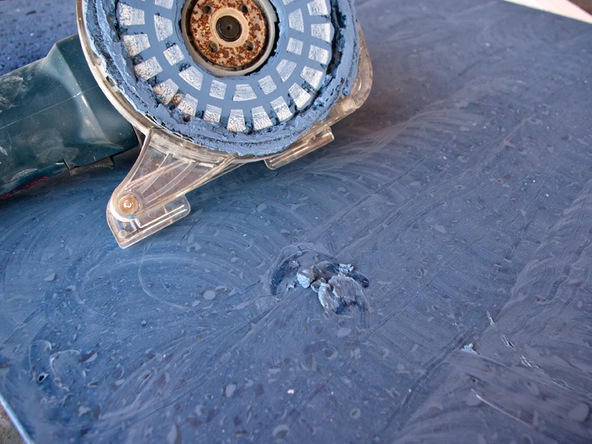
Before un-forming, we use a grinder to remove any areas of concrete that might be too high or that have run over the edges of our form.

This is also an ideal opportunity to grind the front bottom edge, making it straight and consistent. It is much easier to shape the underside of the recycled glass countertop before un-molding.

Don’t be deceived by how straightforward demolding this recycled glass countertop is. The majority of all cracking or breaking will occur at this step if proper precautions are not taken to protect the countertop from damage.

Once the countertop is removed from it’s mold, it must always be supported every 12 inches to insure cracks don’t develop.

Step 1 – Grind Bottom of Countertop

  • Always wear adequate breathing and eye protection when grinding concrete. For this project we used an Alpha WDP-120 polisher attached to a HEPA vacuum to control dust.
  • The form wall liner is your grinding guide. You will be grinding until the casting material is just flush with the form wall liner. This will ensure a consistent countertop thickness.
  • Using a grinder and disc (or segmented grinding cup if the surface is very rough), grind the bottom of the slab around the perimeter of the casting.
  • Continue grinding around the perimeter until the material is ground flush with the form wall liner.

Step 2 – Mark Location of Supports

  • The metal frame that the countertop will sit on has two support bars in the middle. Mark their locations on the slab and grind the concrete flat in those areas.
  • Grind wherever the countertop supports will touch the bottom of the countertop.
  • If your countertop support is a flat surface (not a metal frame like ours), you will need to grind the entire bottom surface.

Step 3 – Remove Form Walls

  • Peel away the form walls and set aside. We’ll use them when we roll the countertop over.
  • Before flipping the top over, knock down any ragged edges on the concrete with diamond hand pads. This will minimize spalling and create a smooth surface when you run your hand along the underside of the countertop section.
  • Gather the foam wall scraps and position them 12 inches apart as shown.

Step 4 – Roll Over

  • Have 2 or 3 people on hand for this step. Roll the top on edge, and then completely turn it over onto the foam scraps. Lift evenly and without prying on the corners.
  • The melamine form base may stick to the slab. Remove it after the slab is settled on the foam scraps.
  • At this stage, before polishing, the finish is consistent, with only a few specks of recycled glass showing through.
  • The silicone that you applied and tooled when sealing the Foam Form have created smooth edges that don’t need finishing.
Previous: Casting

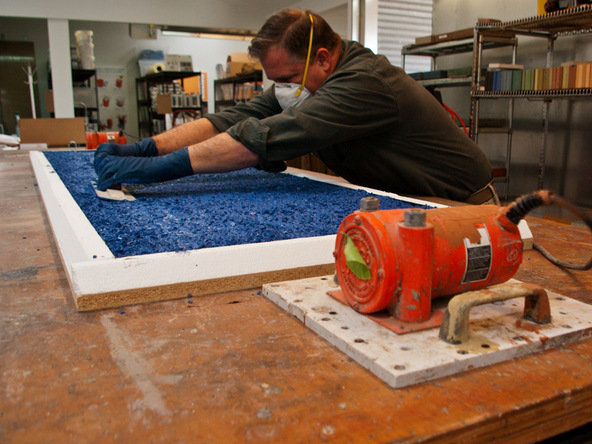
The same vibrating methods are used to precast recycled glass countertops and traditional concrete countertops. This guide uses two Vibco US450T vibrators.

Next: Polishing

For this project we chose to use a single head wet/dry polisher, but if this project were any bigger, we’d have used a triple-head planetary polisher.

Leave a Reply

Your email address will not be published. Required fields are marked *