How to Mix Concrete

Learn how to mix concrete in a motorized drum-style concrete mixer with Sakrete 5000 Plus and CX Precast Concrete Countertop Pro-Formula Mix.

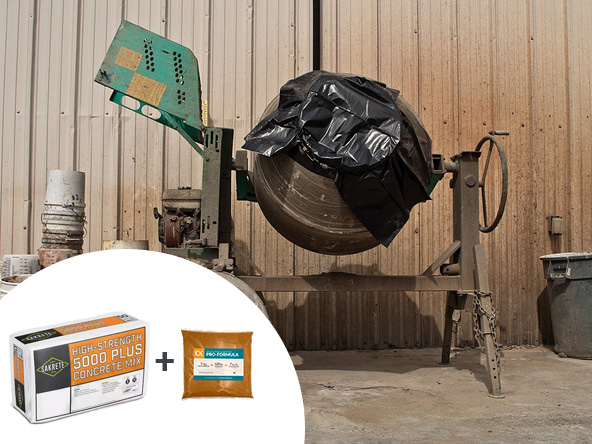
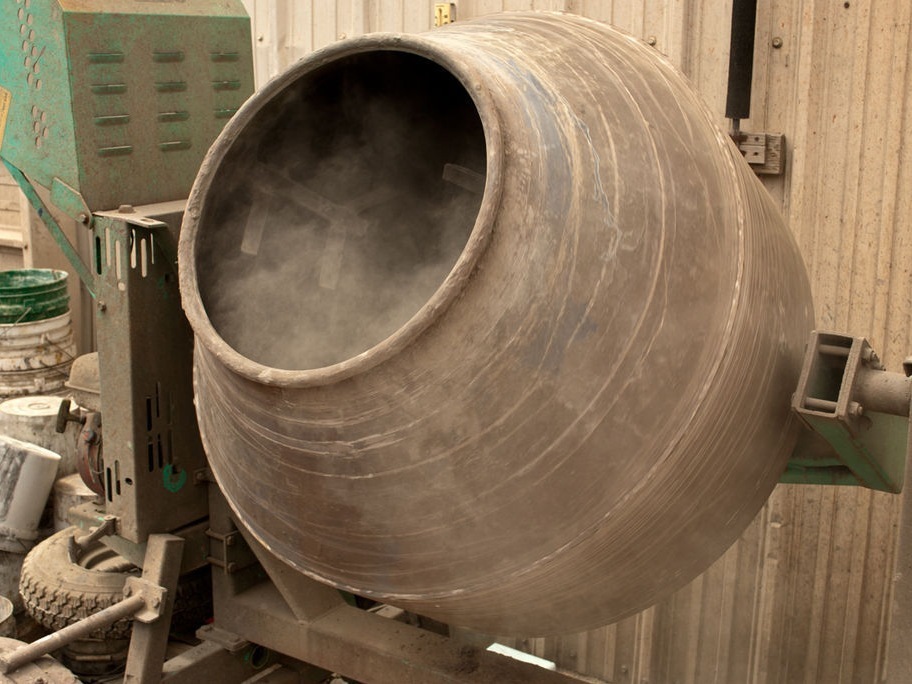
A motorized concrete mixer is necessary for larger projects, like concrete countertops. You can typically get one from your local home improvement center or equipment rental yard. If you plan to cast concrete countertops or another custom precast concrete project, a motorized concrete mixer will be one of your shop necessities.

Mixers come in different volumes; the most common is a 9 cubic-foot mixer. 9 cubic feet is the mixer’s total volume, but the batch volume is 6 cubic feet, meaning you can only mix up to 6 cubic feet of concrete at a time. You can mix up one batch for larger pours, dump it in a wheelbarrow, and then begin mixing the next batch.

What You’ll Need
The Mixer You’ll Need
  • 12 ft3 mixer = 9.5 ft3 batch capacity
  • 9 ft3 mixer = 6 ft3 batch capacity
  • 5 ft3 mixer = 2.5 ft3 batch capacity

Step 1 – Determine How Much Concrete to Mix

Mixing Concrete in a Drum Mixer - Step 1 | CHENG Concrete Exchange
  • Calculate the volume of concrete needed to fill your forms with the equation  Length x Width x Depth = Volume”
  • Calculation Example:
    60 in x 36 in x 2 in = 4,320 in3
    4,320 in3 / 1728 in3 = 2.5 ft3
  • Always add more than 15% to your estimate to insure that you have enough concrete to complete the casting. For the sample project shown above we’re going to mix a total of 3 ft3.

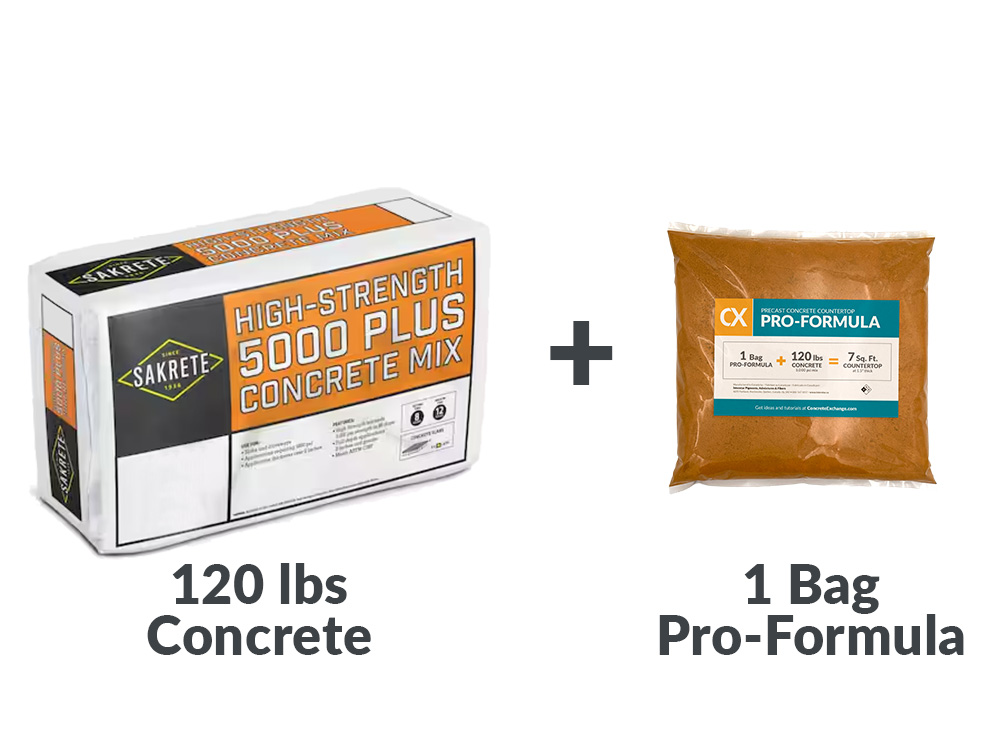
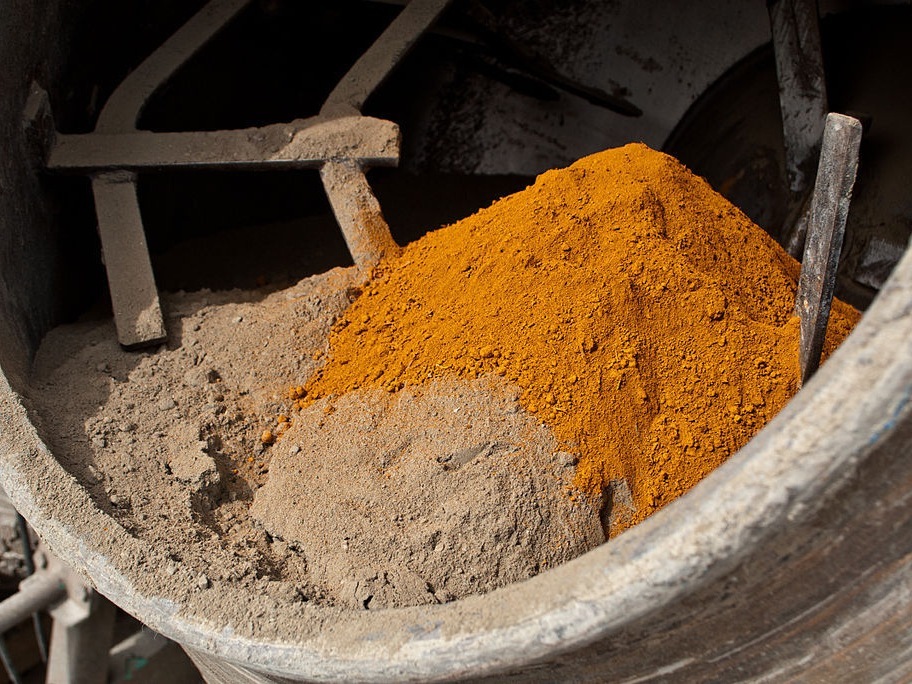
Step 2 – Add Dry Materials to the Mixer

Mixing Concrete in a Drum Mixer - Step 2 | CHENG Concrete Exchange

Step 3 – Cover the Mouth of the Mixer

Mixing Concrete in a Drum Mixer - Step 3 | CHENG Concrete Exchange
  • Cover the barrel opening with a plastic trash bag and secure it in place with an elastic bungee cord.
  • All the dry ingredients must be thoroughly blended and evenly distributed throughout the mix before water is added.

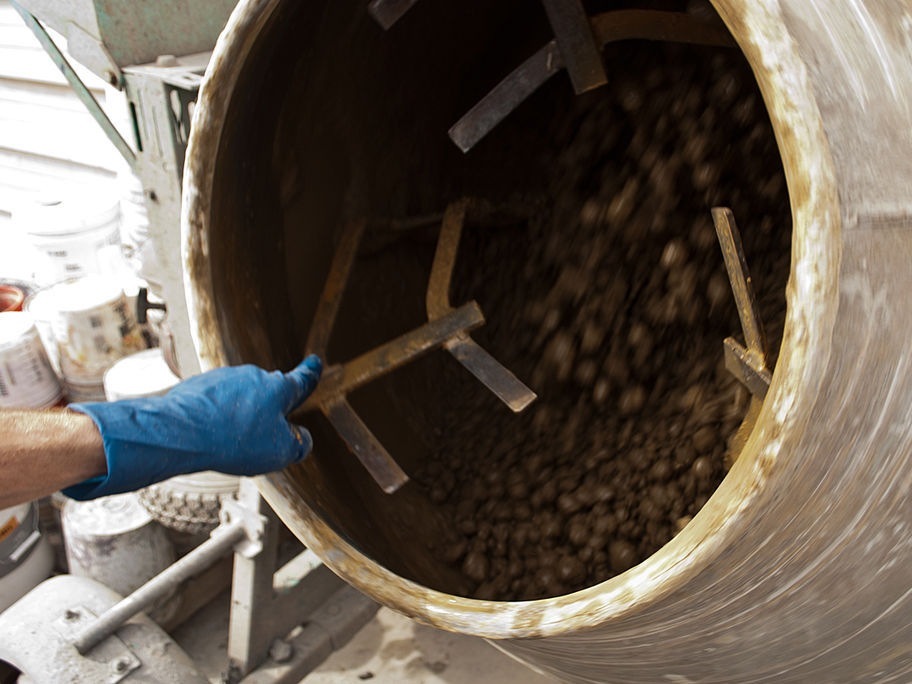
Step 4 – Blend the Dry Mix Components

Mixing Concrete in a Drum Mixer - Step 4 | CHENG Concrete Exchange
  • Turn the concrete mixer on and blend for at least five minutes.
  • With the mixer spinning, rotate the barrel as close to horizontal as possible without the concrete spilling out of the mixer.
  • The drum of the mixer has fixed paddles attached to the inside. When the mixer is rotating, these paddles pick up the concrete, pull it to the top, and then gravity lets it fall down on itself. This churning motion mixes the concrete. If the drum of the mixer is tilted up vertically, the churning motion will stop. Tip the mixer as horizontal as possible without allowing concrete to spill out the concrete.

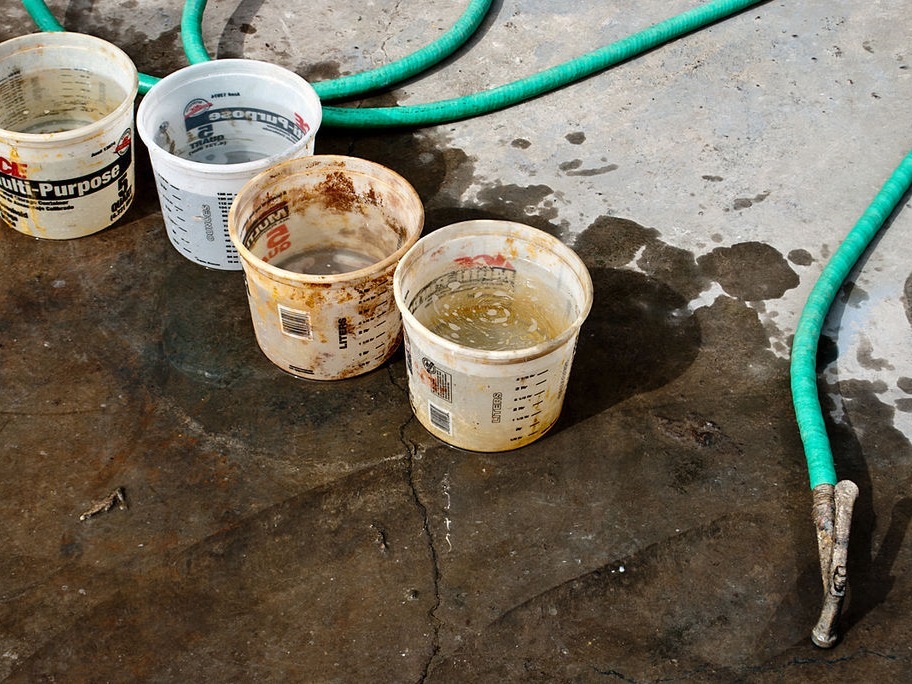
Step 5 – Measure and Add the Water

Mixing Concrete in a Drum Mixer - Step 5 | CHENG Concrete Exchange
  • Measure out 3/4 of the recommended water along with any liquid additives like pigment or water reducers.
  • Using cooler water will extend the working time of the mix. This will be helpful if you’re in a very hot climate. Every bagged concrete mix has a range of water requirements. Play it safe by adding less water than recommended, and then gradually add the remaining water while keeping an eye on the consistency of the mix.

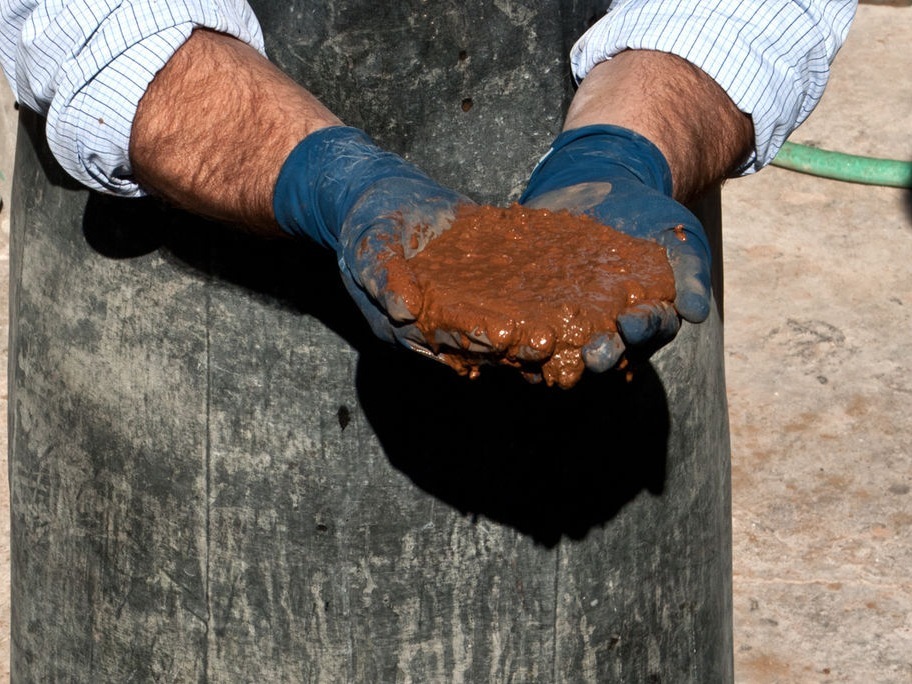
Step 6 – Check Consistency

Mixing Concrete in a Drum Mixer - Step 6 | CHENG Concrete Exchange
  • Stop the mixer to check the consistency of the concrete.
  • Continue mixing, adding the remaining water as necessary.
  • If the mix is still stiff and clumpy, add 8 oz. of additional water at a time and continue mixing.

Step 7 – Final Check and onto Casting

Mixing Concrete in a Drum Mixer - Step 7 | CHENG Concrete Exchange
  • The ideal mix will have the texture of rocky oatmeal. If it’s too dry, it will feel stiff. Too wet and it will run through your fingers if you pick up a handful.
  • Pour the concrete in a wheel barrow and move it to the casting area.
  • If you need to make multiple batches at the same time, set the wheel barrow aside and prepare the next batch for mixing.
  • The concrete will begin to set-up after 15 minutes, so work quickly. While the second batch is being mixed, begin casting with the first batch.
  • Waiting too long to add the next batch can result in a cold joint if the first mix is too dry.
  • Performing a Slump Test will help determine if the mix is too stiff or too wet. A mix that is too stiff will be difficult to vibrate, resulting in air voids. A mix that is too wet is weaker and more prone to surface cracking.

Step 8 – Clean Up

  • Clean the mixer by dumping the excess concrete in a 30 gallon trash can and rinsing out the mixer with a hose until the water runs clear.
  • Catch everything with the trash can. The water still contains active cement, never pour it down the drain.
  • Let it sit for 24 hours. The heavy particles will settle to the bottom and then you can pour off the water.
  • Dump the sludge out onto a tarp, let it dry, and then dispose of it.