Bent Concrete Side Table

ONE: Make the Master Mold

This project was completed during one of our recent trainings featuring guest instructor Chris Franzen from Surecrete. The unique characteristics of a fiber-reinforced concrete mix make it possible to cast concrete into a flat mold, wait until it enters a “false-set,” and then bend the concrete. For this we need a flexible mold, and in this guide we’ll outline the steps to create a polyurethane rubber mold that will work for this technique.

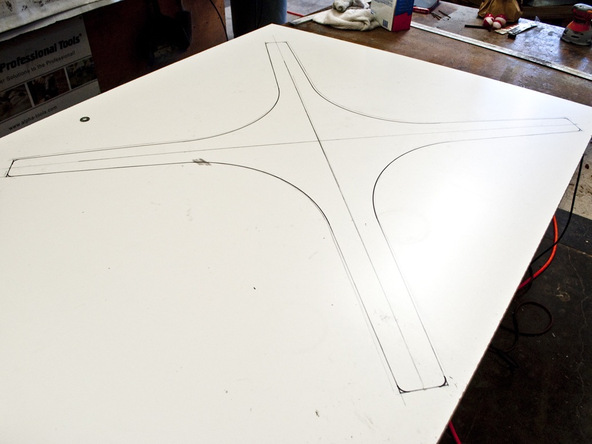
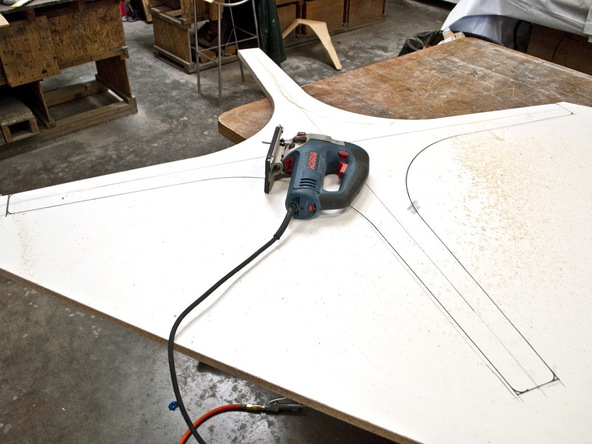
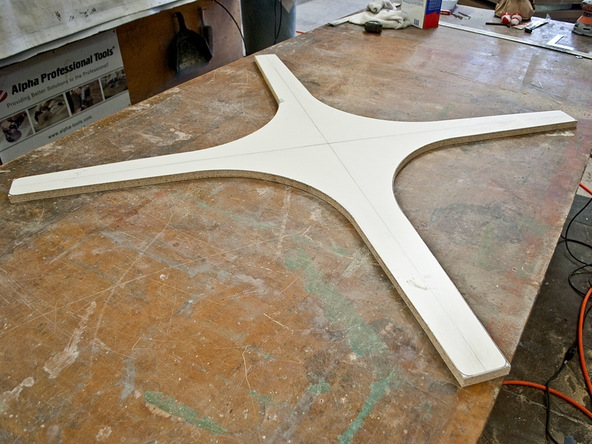
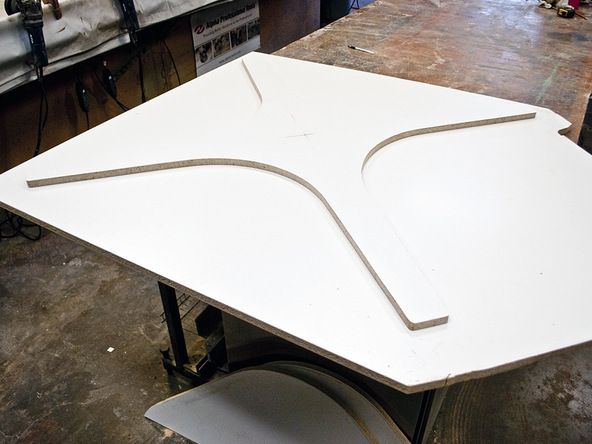
Step 1 – Cut Out the Positive

  • Don’t scratch the positive! Any imperfections in the positive will be transferred to the rubber mold, which will then be transferred to the finished concrete piece. Take care not to scratch the positive when laying out the shape, cutting it out, or trimming the edging.
  • Adjust the angle of the blade so it’s running straight up and down (or at whatever angle you want).
  • Start cutting out the shape, following the line as closely as you can, and going slowly.
  • When it comes to making the last few cuts, make sure the positive is supported, or it can bend down and break off.
  • If you have access to computer modeling software and a CNC Router, you can use those tools to accurately cut out the positive.

Step 2 – Sand the Edges

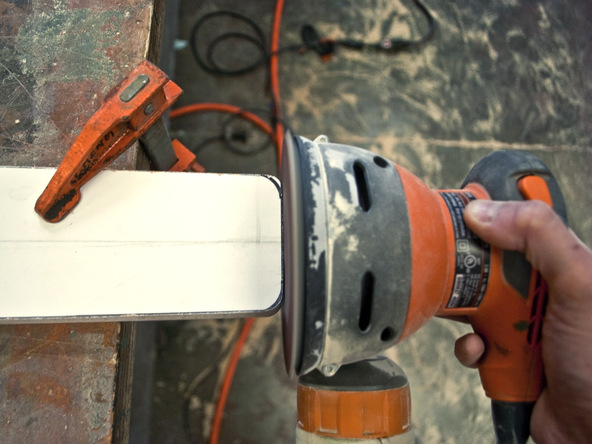
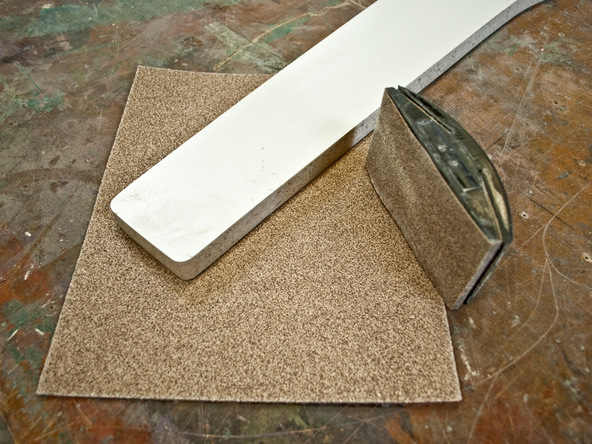
  • Sand the edges smooth with a palm sander and a sanding block.
  • Be extremely precise when sanding the edges to the right shape. It’s a lot easier to sand the wood than it is the finished concrete.

Step 3 – Tape Edges and Trace Out the Positive

  • After the shape is cut out and finished, place it on a sheet of melamine (or another water proof surface that is very flat).
  • Then trace a 1″ border around the shape (or whatever thickness you want the edge of the rubber to be). I used a roll of 1″ thick blue tape as a guide.
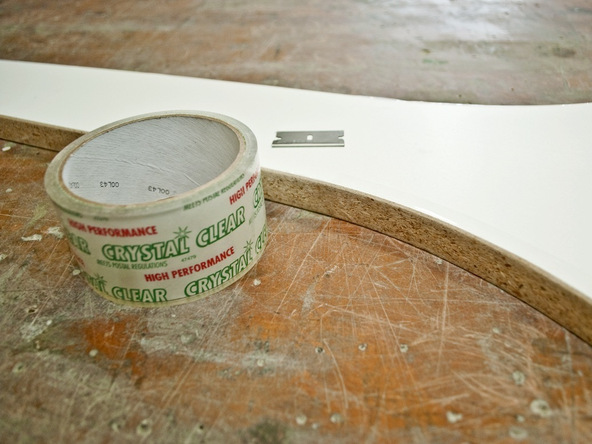
  • Seal the edges of the positive using clear plastic tape, paint, iron-on edge banding, or similar.

Step 4 – Build the Form

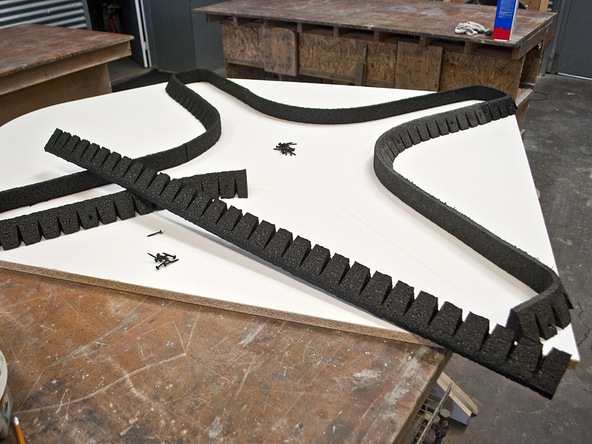
  • Place the walls around the perimeter, spaced 1″ away from the positive. The walls don’t need to be perfect, but the perimeter of rubber should be about the same thickness everywhere so it will bend evenly.
  • Some sort of liner or clear tape on the inside of the form walls will give the rubber a smooth finish around the border.
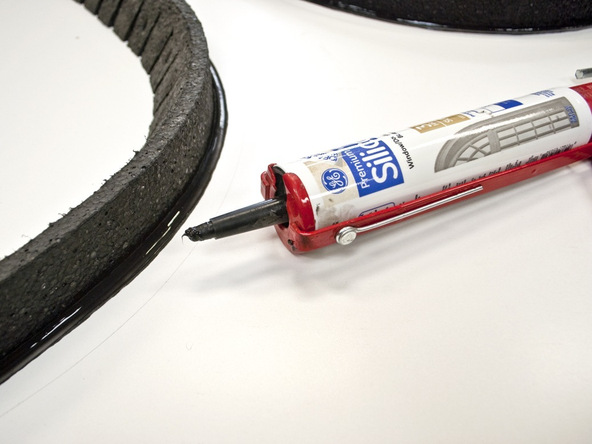
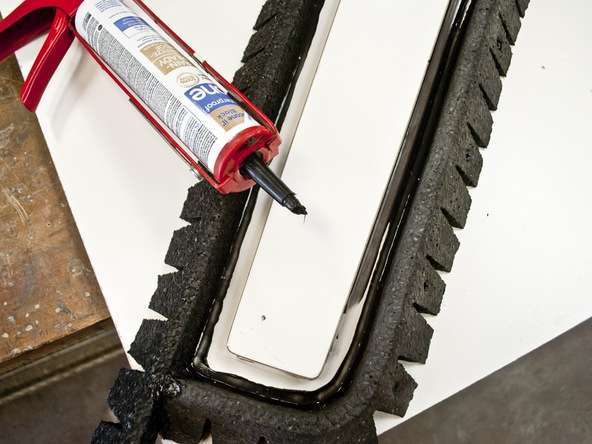
  • Apply a thick bead of silicone to the perimeter of the form walls. This will keep the rubber from leaking underneath the walls.
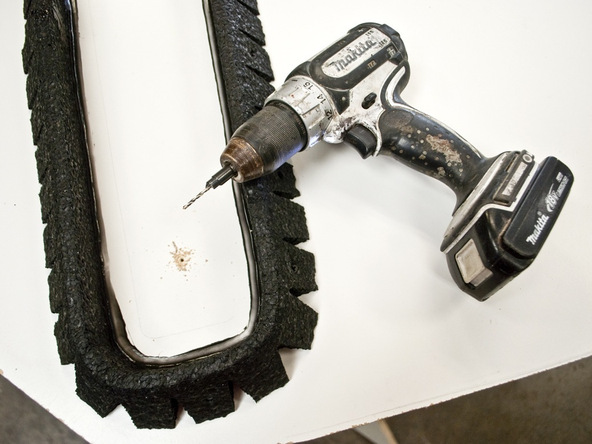
  • After the walls are in place, drill a few holes to secure the positive to the base. You will be screwing up from underneath the baseboard, into the positive. Pre-drill and countersink the holes and use short screws (1″) that won’t go through the positive.

Step 5 – Silicone the Positive to the Baseboard and Secure With Screws

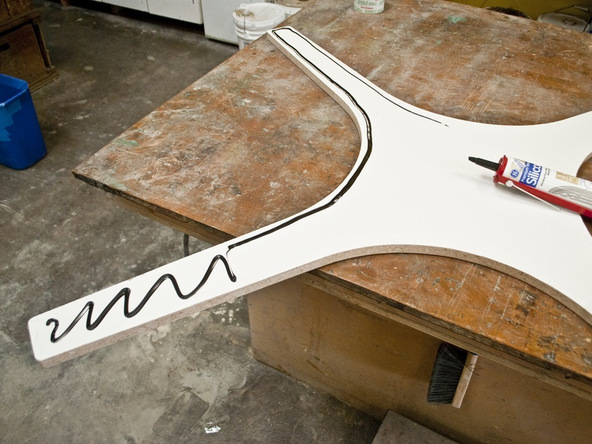
  • Before placing the positive in the mold, coat the back side with silicone.
  • This is an important step and will help keep any air that is stuck between the positive and the base board from leaking out while the rubber is being cast. Air will leak out and cause air bubbles if you skip these steps.
  • Place the positive in the form, line it up with the marks you made earlier, and screw it in place from underneath. Clean up the silicone that squeezes out.
  • Run a bead of silicone around the positive to help seal it to the surface and clean up the excess with denatured alcohol.
  • Allow the silicone to cure and then clean the excess up by rubbing it away with your fingers.

Step 6 – Prepare the Form for Casting Rubber

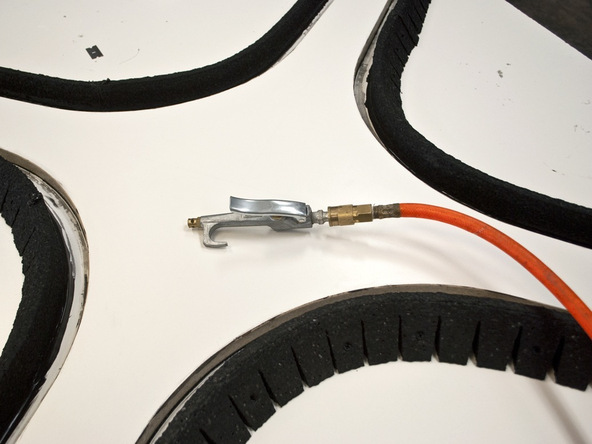
  • Blow the form out with compressed air, and clean inside the mold with denatured alcohol, mineral spirits, or acetone.
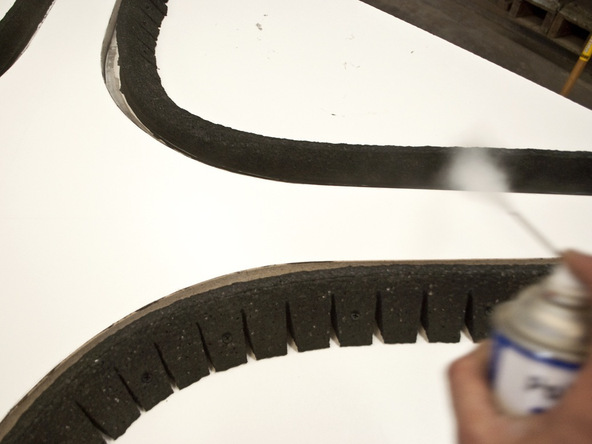
  • Before casting rubber, liberally spray Pol-Ease mold release in the form. This will help the rubber release easily from the positive.
Next: Mix Rubber

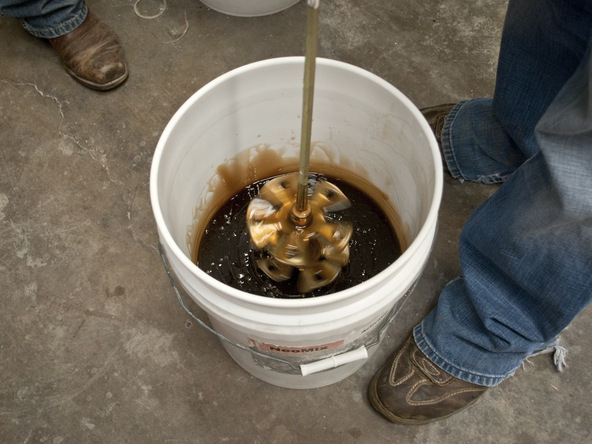
Polytek 75-60 Polyurethane Mold Rubber provided ideal flexibility for this project.  Work quickly when mixing polyurethane mold rubber to avoid…