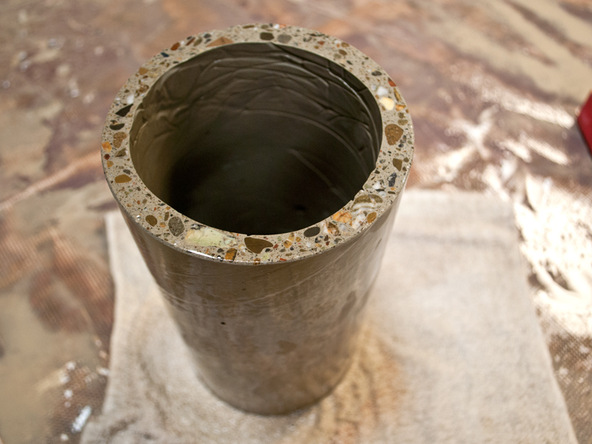
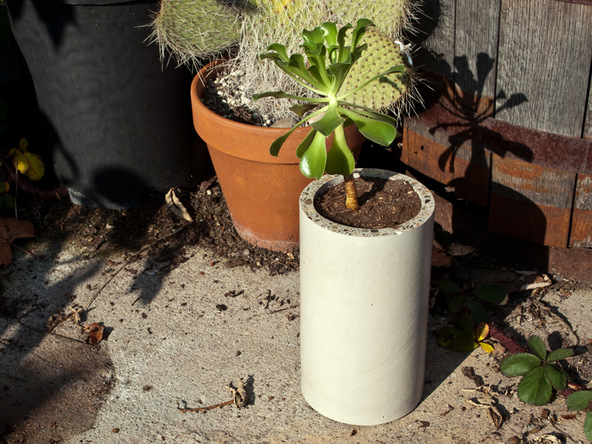
Recycled Container Concrete Planter

This Guide will explain how to make concrete cylinders using discarded cardboard packaging tubes (potato chips, ground coffee, mixed nuts, baby formula, etc.)

These tubes were found in recycling bins at a nearby apartment complex. It might take a few trips to find the right sizes, but keep looking, because they’re being thrown away all the time.

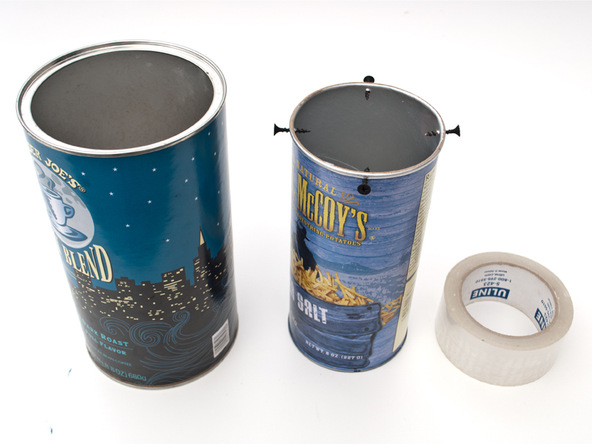
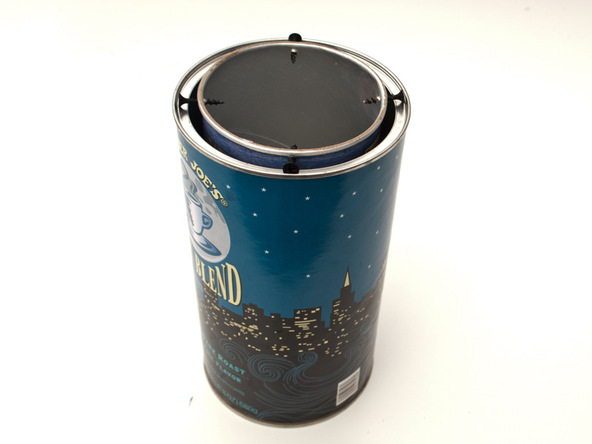
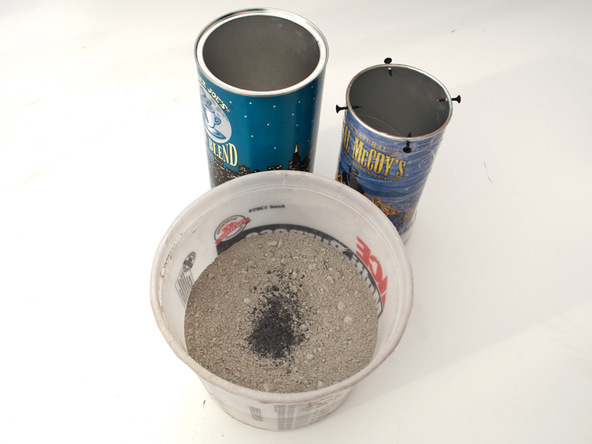
The largest tube will become the outside form. In this case it’s about 5″ diameter and 9″ tall (it contained coffee grounds). The inside tube is about 4″ x 7″ (shredded potato chip container). This means the wall thickness is only about 1/2″. Do not go any thinner – this is already pushing the limits.

What You’ll Need
  • Permanent Marker
  • Tin Snips/Wire Cutters
  • Long Needle-Nose Pliers
  • Phillips Screwdriver
  • Scissors
  • Weights/Rocks/Sand
  • Alpha Diamond Hand Polishing Pads (Set of 7)
  • Particle Mask
  • Rubber Gloves
  • Cardboard Tubes (with foil or plastic lining) (2)
  • 1″ Drywall Screws (4)
  • Clear Packing Tape
  • Thin Foam Wrap
  • Sacked Concrete Mix
  • CHENG Outdoor Pro-Formula
Step 1 – Find the Tubes

  • Recycling bins at apartment complexes are a great place to get these tubs.
  • Coffee, potato chips, baby formula, and other dry goods will come in these tubes.
  • Anything with a foil lining on the inside will be water-tight enough to cast concrete in.

Step 2 – Prepare the Tubes

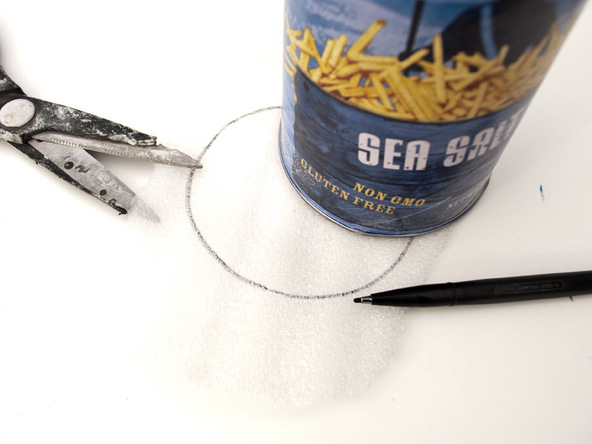
  • Starting with the Interior form, trace the diameter on a piece of thin foam padding (this is usually used for packing/shipping). The idea is to tape a circle of foam to the base, so when we go to demold, that metal ring isn’t trapped down inside.
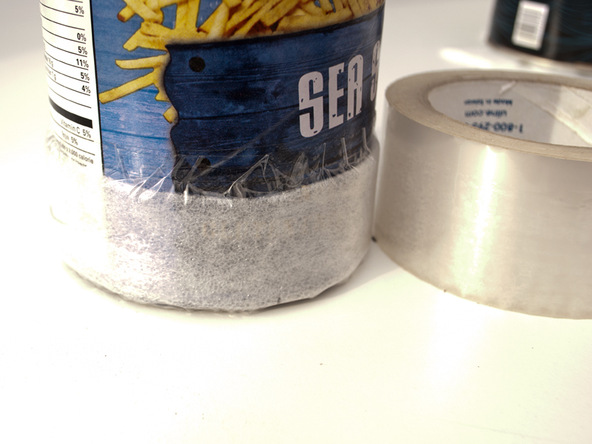
  • After the foam circle is taped to the base, cut a ~2″ foam strip to wrap and tape around the bottom edge (to keep that ring from getting trapped).

Step 3 – Screws

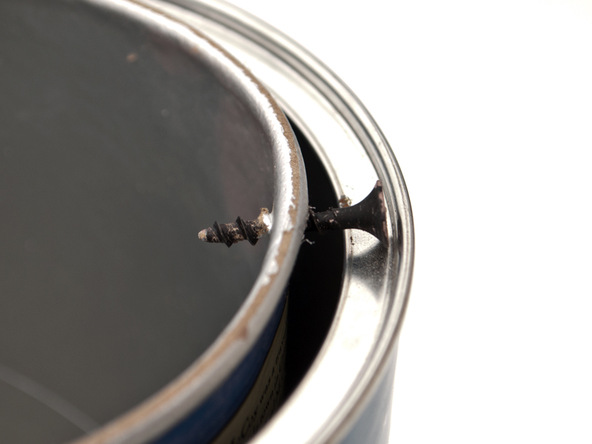
  • Screw the (4) 1″ screws into the top of the Interior form. The screws should rest on the lip of the Outer cylinder, helping to keep it lined up during the pour.
  • Clean up the forms, Inside and Out and remove any oils or residue with denatured alcohol. If you don’t clean the containers out, you’ll see it on the surface of the finished concrete for sure.

Step 4 – Mix, Pour, Vibrate Concrete

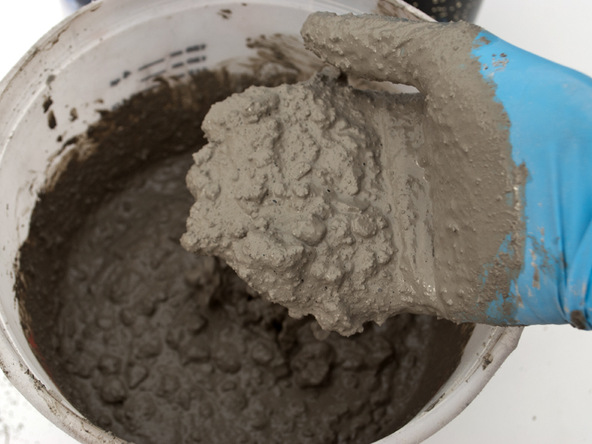
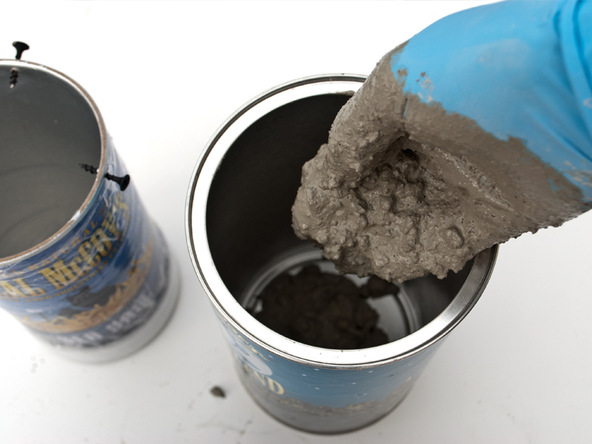
  • Fill the Outer cylinder with concrete first, smearing concrete around the inside surface as you go along. This will help the concrete fill the edges and should minimize air bubbles.
  • With the Outer cylinder about half full, wipe the exterior of the Inside cylinder with concrete and gradually push it down into the form. The concrete will be displaced and spill up out of the edges.
  • Take some weights (lead, solid metal, stones, sand, etc.) and put them into the Interior form. You want to offset the buoyant force of the fluid concrete. Too much weight and the Inside form will sink (and bend the locating screws). Not enough weight and the Inside cylinder will want to float up.
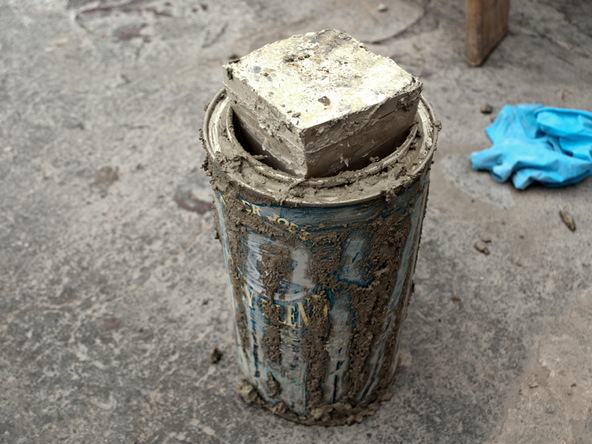
  • Vibrate the form by lifting it and dropping it repeatedly on the work surface (this is called drop compaction). Do this for a few minutes to help coax the air bubbles into rising to the surface.

Step 5 – Cover and Cure

  • With your vibrating finished, make sure the Inner cylinder is centered within the Outer one. Then move it gently to a quiet place where it will be undisturbed.
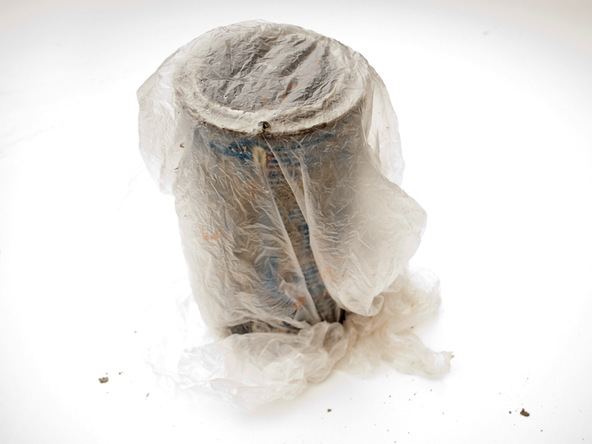
  • Cover the piece with plastic and let it cure for 2-3 days.

Step 6 – Demold

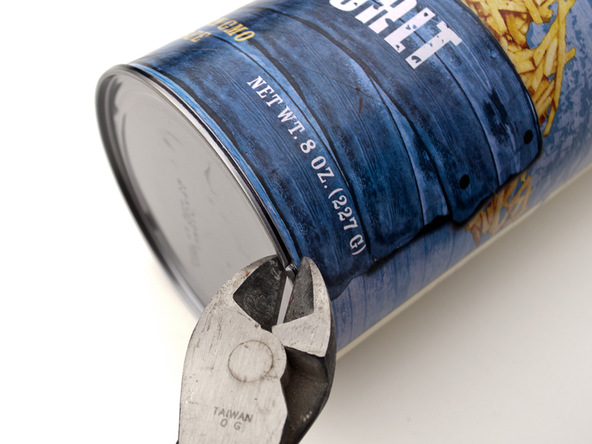
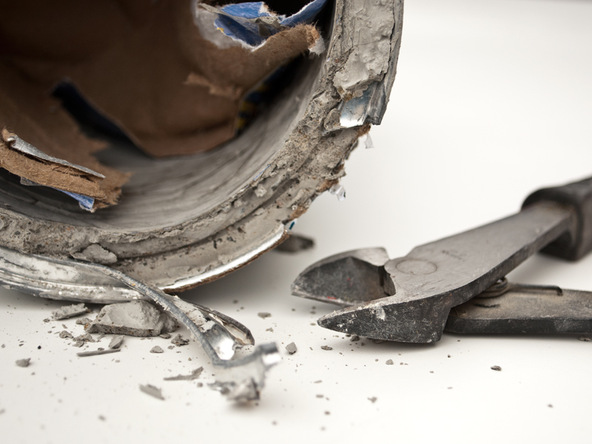
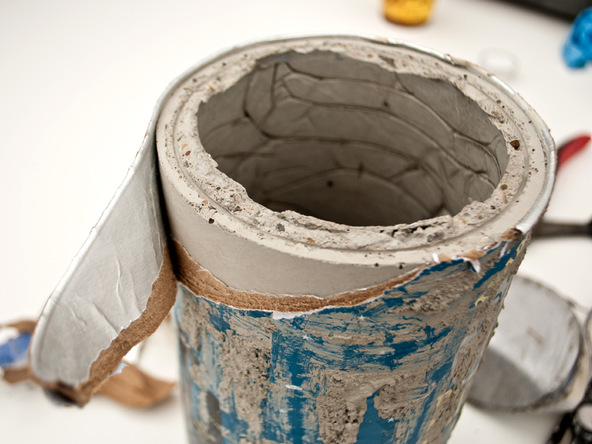
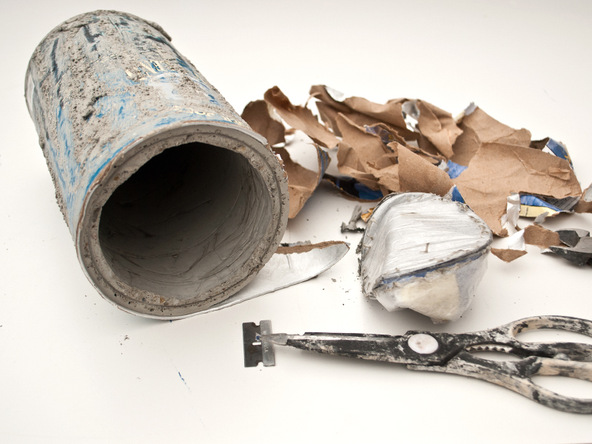
  • Scrape away concrete from the top edge and snip the metal ring, gradually peeling the cardboard away.
  • Hopefully the metal ring from the Inner cylinder isn’t trapped. Use some long needle-nose pliers if it is, although sometimes things just get stuck.
  • Be careful not to cut yourself on the metal rings, and remember not to pry against the concrete because you’ll just scratch it.

Step 7 – Sand Rough Edges

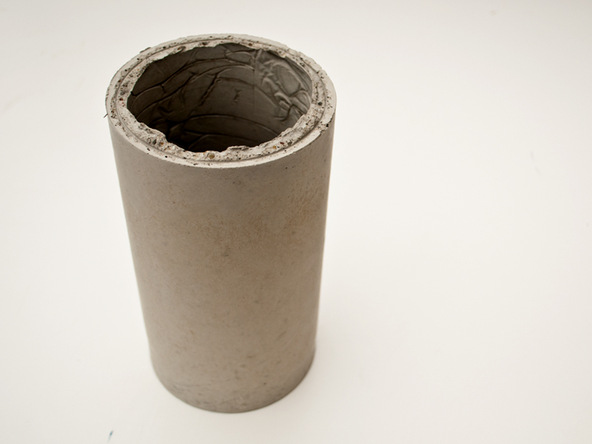
  • Take a diamond hand pad or sandpaper and clean up any sharp edges.

Step 8 – Polish the Top

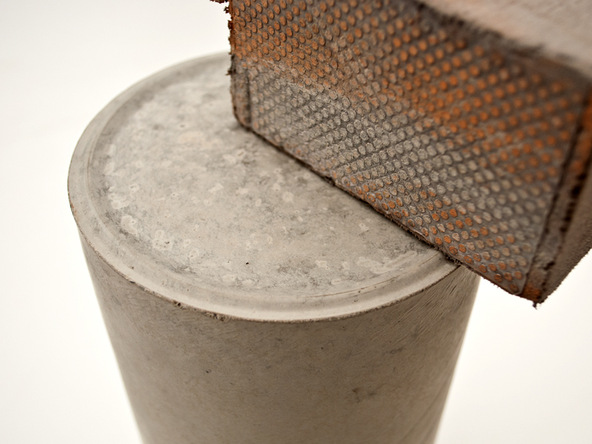
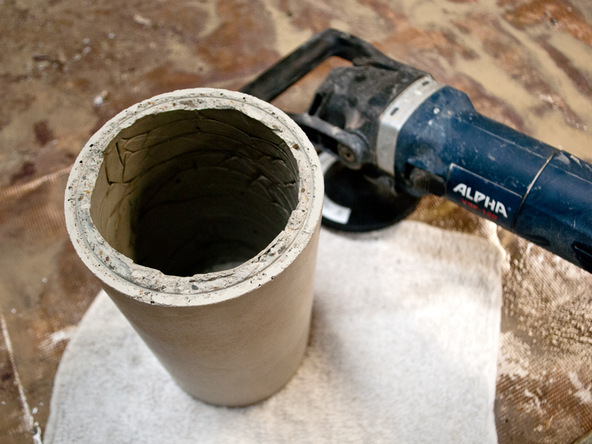
  • The top surface will be a bit rough, and if you don’t have a 5″ orbital polisher, you might try sanding it with 60-grit sandpaper on a rubber pad or fixed to a block of wood. At this step you’ll get the best results if you have the right tool for the job (5″ orbital polisher with pads for concrete).
  • Seal the concrete with something like the CHENG Acrylic Sealer. Sealing isn’t necessary, but it will protect the concrete and keep it looking good over the long term.
  • If the cylinder is going to be a planter, drill a 1/2″ hole in the bottom with a masonry bit.

Finished Planters

  • Plant your favorites and enjoy!

Leave a Reply

Your email address will not be published. Required fields are marked *