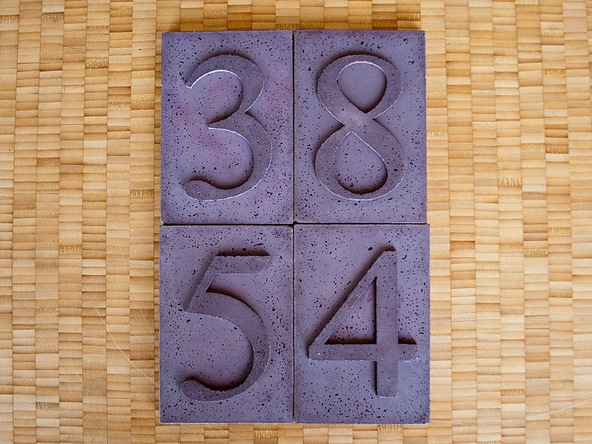
Concrete House Numbers

To make your own Concrete House Numbers, cut out the numbers from a piece of thick gasket material, glue the numbers to any waterproof surface, build a perimeter form with foam strips, and glue them in place with spray adhesive. That’s it!

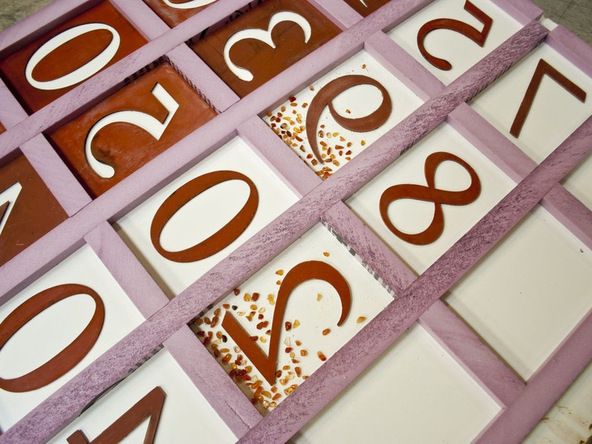
You can take this project a step further by lining the form walls with a textured fabric, and also by gluing pieces of broken tile to the top of the gasket numbers. The tile will stay captured in the concrete when the rubber is removed, leaving you with a tile mosaic in the shape of your address.

What You’ll Need

Step 1 – Print a Template and Cut Gasket Rubber

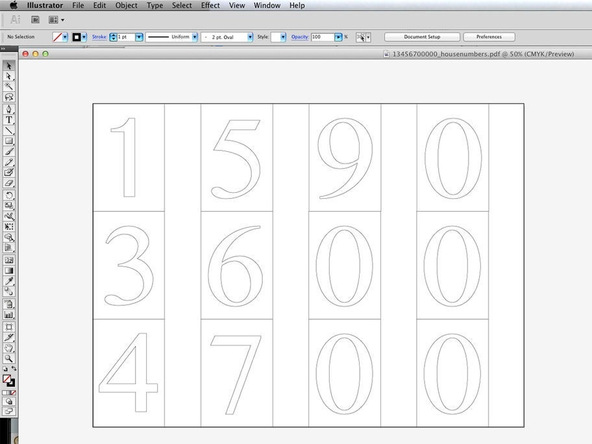
  • Make a new 8.5″ x 11″ file and then create two 4″ x 6″ rectangles. Choose a font and center it in the 4″ x 6″ rectangle.
  • Print out the numbers on regular paper at full scale.
  • Cut out the paper numbers with scissors or a razor blade. Be as accurate as possible. You will skip this step if using a laser cutter to do the cutting.
  • Center the paper numbers on the gasket rubber and trace around them with a permanent marker. Cut out the number with a razor blade or utility knife.
  • Make the cuts as straight up and down as possible.
  • If you have access to a laser cutter, use it to cut the rubber. It has a tendency to burn the edges but this can be cleaned up with denatured alcohol and won’t show up in the finished concrete.

Step 2 – Making the Form

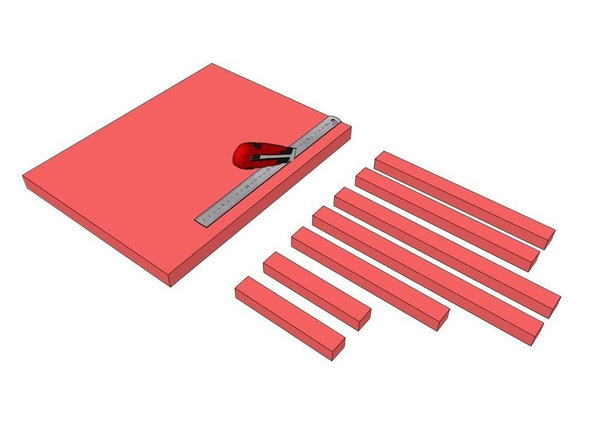
  • Cut the baseboard: In this example, we’ll use a 15″ x 11″ baseboard to lay out 4 numbers. The baseboard has to be waterproof (melamine-coated particle board works well). It could be a piece of plastic, glass, or anything similar.
  • Cut the foam walls: Insulating foam (pink or blue) works well for the form walls because it has a tight surface, unlike the styrofoam used for packaging – but that will also work. A layer of clear packing tape will help cover up that rough surface.

    •    The strips are 3/4″ tall, 1″ wide, and vary in length. The total thickness of the concrete numbers should be at least 3/4″; any thinner and they might crack during demolding.
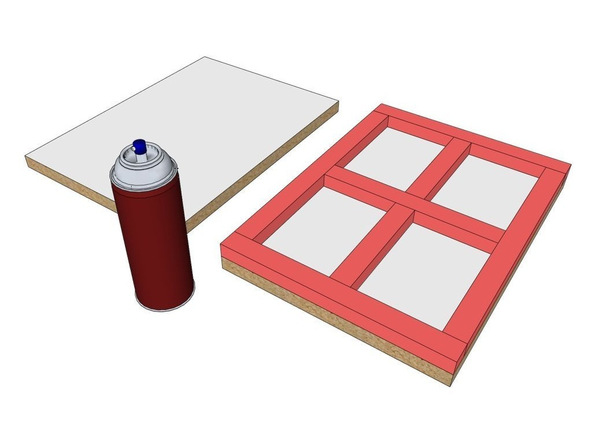
  • Attach the foam walls to the baseboard: To lay out the grid, it might help to make a 4″x6″ template to get the right spacing. Use spray adhesive to attach the foam walls to the baseboard.

    •    Lightly mist one side of the foam, but if you spray too close the aerosol will melt the foam. Don’t spray adhesive on the baseboard – it will leave a residue that you’ll have to clean up. The smoother the casting surface, the smoother the concrete. Any texture, even a misting of spray adhesive, will show up in the finished concrete.

Step 3 – Glue the Numbers in Place

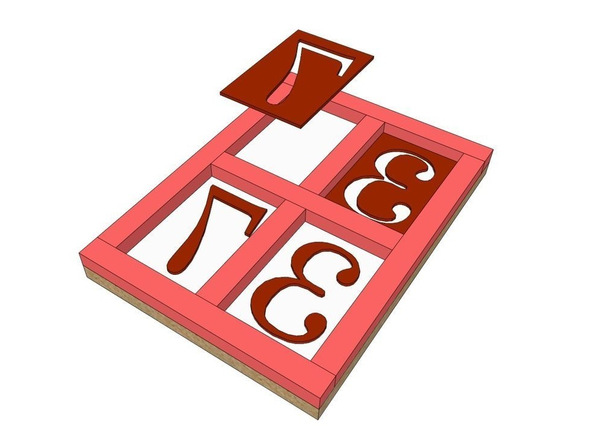
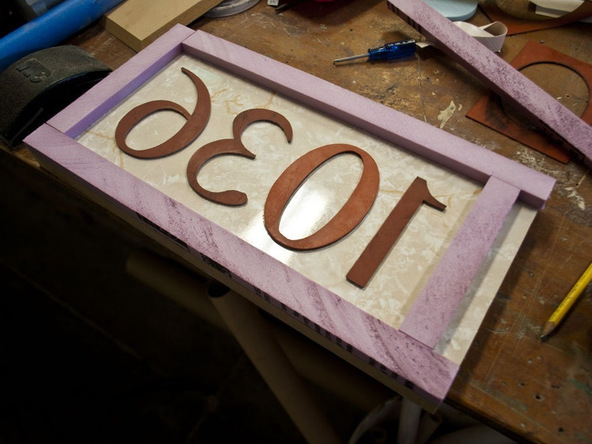
  • When the grid is laid out, affix the numbers to the baseboard. THEY SHOULD BE BACKWARDS. This is very important, and you will only make that mistake once.

Step 4 – Mix and Cast Concrete

  • Check out the Mixing Concrete by Hand Guide for tips on making a small batch of concrete.
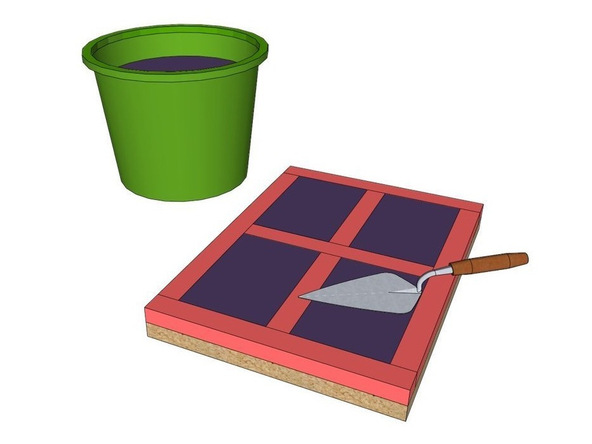
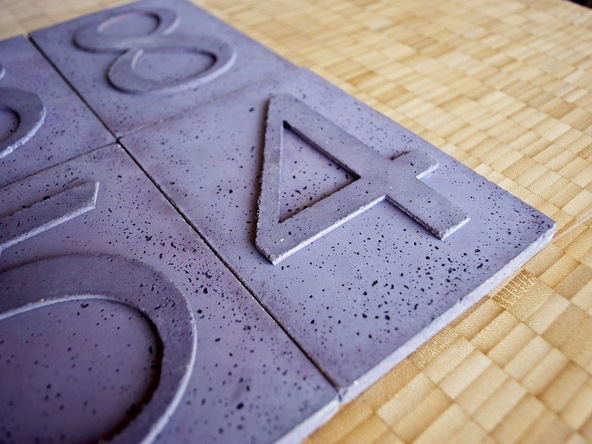
  • Pour the concrete into the form and press it in by hand.
  • When the forms are full, smooth the top with a trowel.
  • Insert any cables or hardware that you want to cast into the pieces for hanging at this point.

Step 5 – Demold

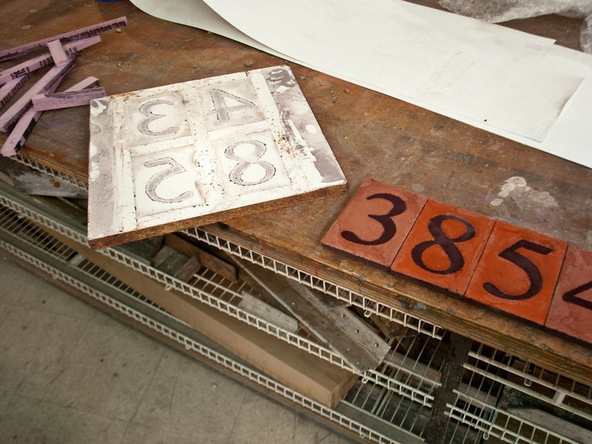
  • Remove the foam form walls.
  • Gently lift up on the concrete, under the rubber, with a plastic putty knife.
  • Remove any remaining pieces of rubber with an awl.

Step 6 – Finished House Numbers

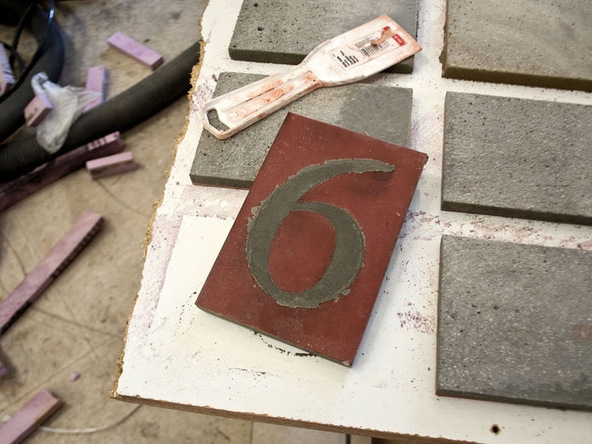
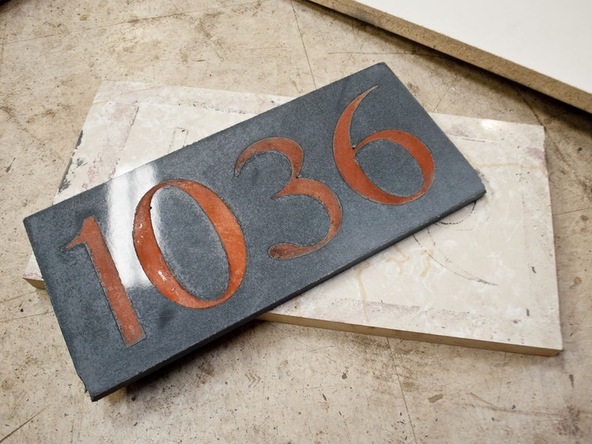
  • Grinding and polishing the raised numbers will give the piece more contrast.
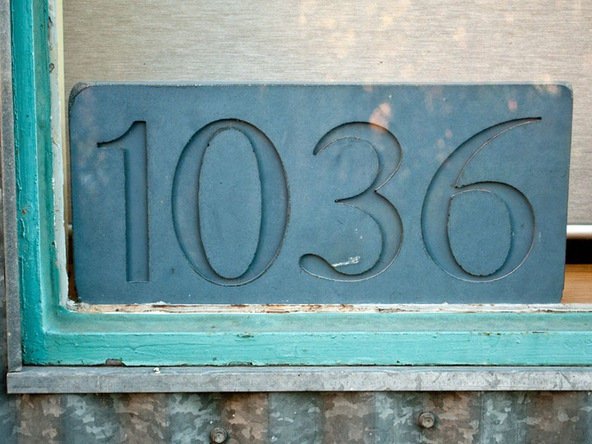
  • Sealing the concrete will help keep them looking good for a long time.