How to Cast an Ammonite into Concrete
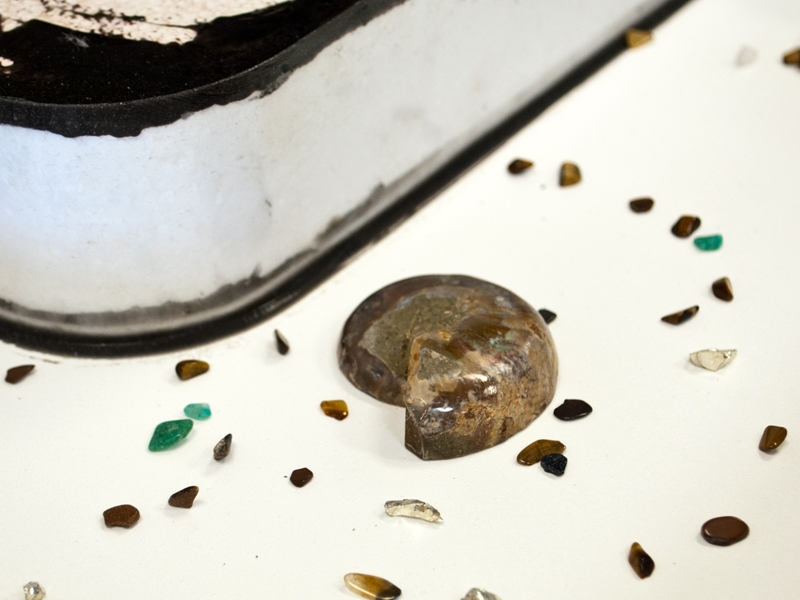
We love casting high grade ammonite fossils into concrete for a lot of reason but above all we think they’re beautiful. Evidence of the golden mean can be found all around us and we think there’s no better way to accentuate the linear proportions of a well designed concrete countertop than with one of mother natures own perfect designs.
What You’ll Need
- Shop for 3M Super 77 Spray Adhesive
- 100% Door and Window Silicone Caulk
- Caulking Gun
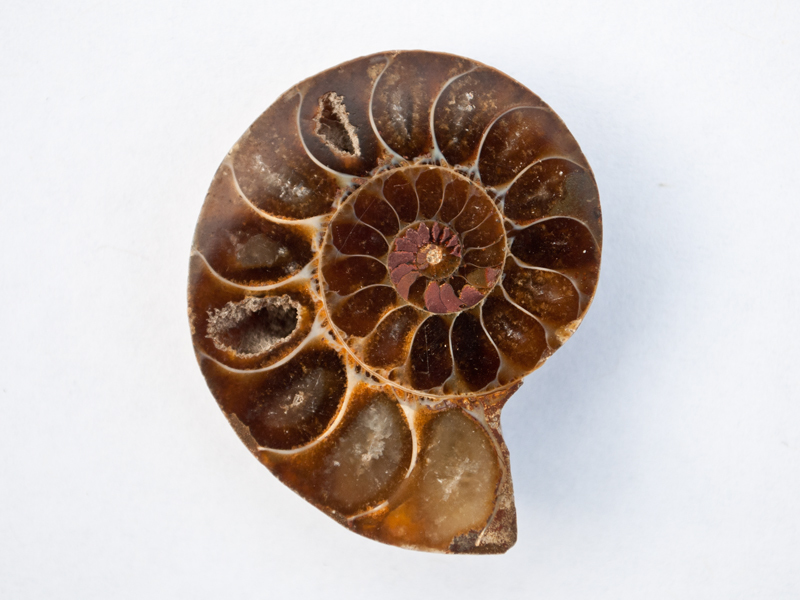
- High Grade Ammonite Fossil
Step 1 – Select an Ammonite Fossil
Step 2 – Adhere the Ammonite to Formwork
Step 3 – Fill Voids with Acrylic Slurry
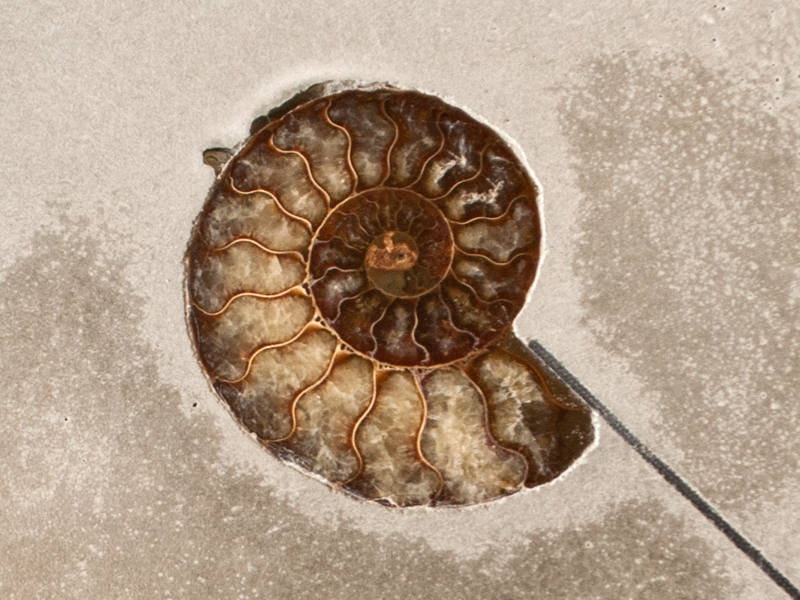
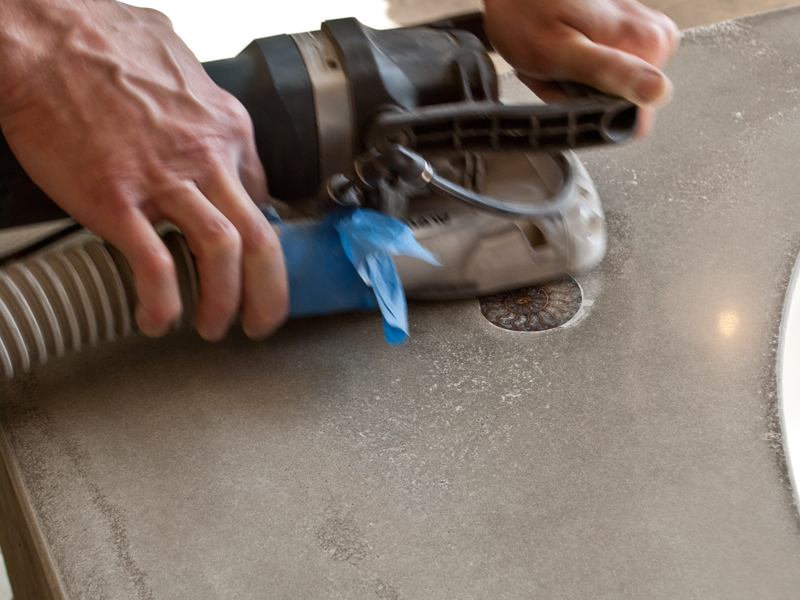
Step 4 – Polishing a Fossil
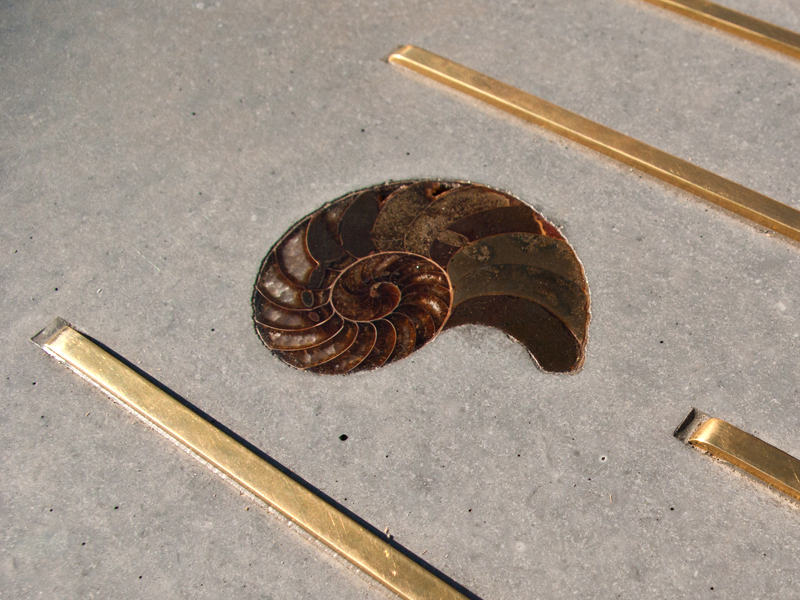
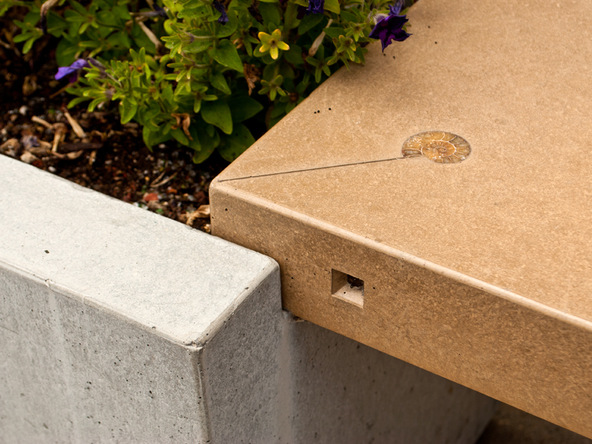
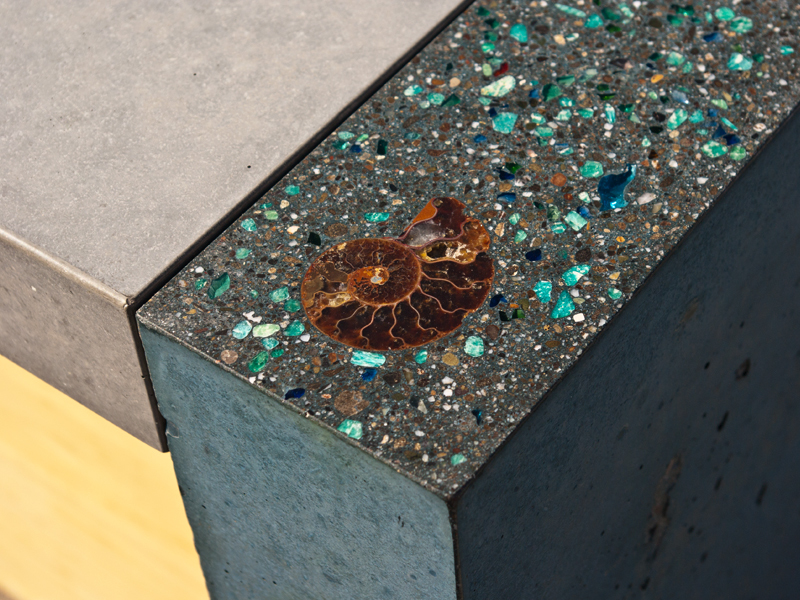
Finished Ammonite Inlays