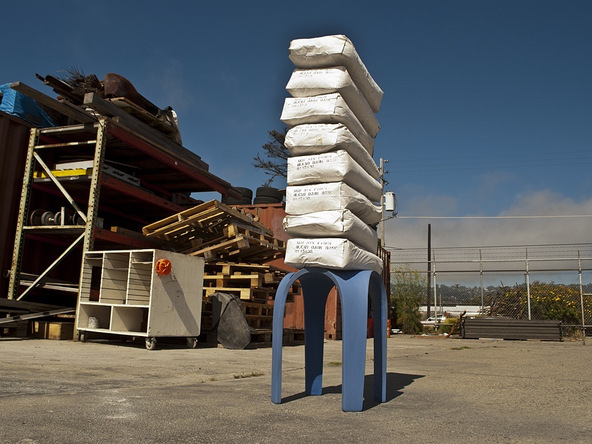
Bent Concrete Side Table

SIX: SEALING CONCRETE

Our favorite sealer for projects shaped like this is the CHENG Concrete Sealer.  The sealer allows us to slowly saturate the concrete with penetrating acrylic chemistry to insure the concrete is sealed from within.  We can also avoid roller marks and brush streaks by using the “wash” application method.

Step 1 – Saturate with Clean Water

  • The final step of this project is to seal the concrete. This step is optional, but sealing will help protect the concrete from staining and preserve the finish over time.
  • Always seal indoors or in the shade when possible. Away from moving air and In a dust-free location. Avoid anything that will cause the sealer to dry too quickly. If the sealer dries too quickly, this can cause streaking when it’s being wiped off.
  • Rinse the concrete thoroughly with clean water, using a 100% cotton cloth that won’t scratch the surface.
  • Wipe down the surfaces of the concrete with water until the whole piece darkens. “Wash” with water for 5 minutes.

Step 2 – Apply Sealer

  • Sealer is best applied in thin coats. Dilute the CHENG sealer with tap water, it will make it easier to apply with less chance of the sealer streaking as it dries.
  • Soak the rag in the sealer dilution (30% sealer to 70% water) and wipe it down, saturating the concrete.
  • Liberally apply sealer to the whole piece, and agitate it with the rag for about 5 minutes.
  • Wipe up the sealer with the same rag, and wring it out back into the bucket of sealer dilution.
  • The idea here is to leave a very thin and uniform layer of sealer on the surfaces, not to dry the piece completely.
  • After the sealer soaks in and starts to dry, repeat.
  • For “new” concrete, you’ll apply sealer like this anywhere from 3 to 6+ times.
Previous: Demolding

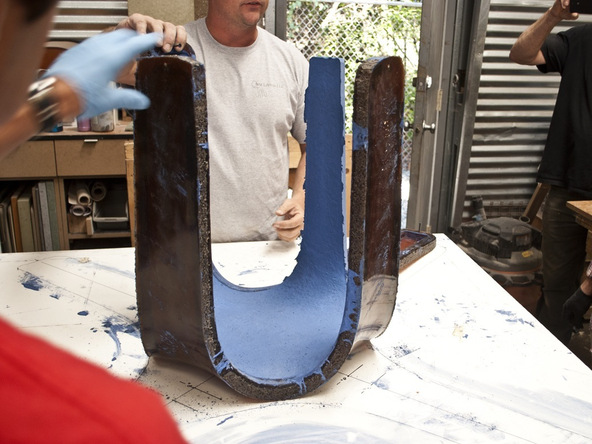
Wait 24 hours before attempting to demold this project. The legs will continue to be delicate until the concrete has reached full strength in seven days.