Recycled Glass Countertops

SIX: POLISHING

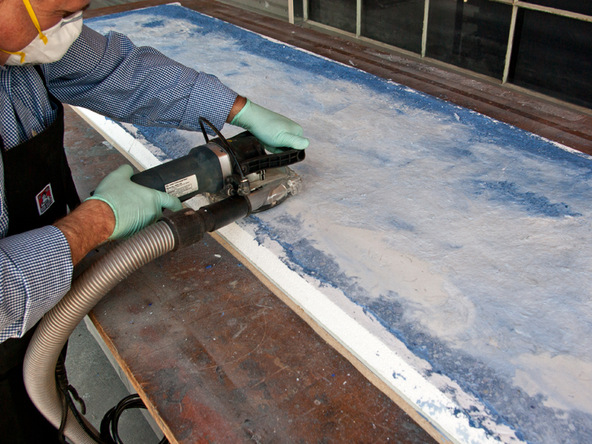
Polishing your recycled glass countertop will take a considerable amount of time and patience. The glass aggregate is very hard and we need to remove a lot of material to expose the glass and create a homogenous appearance.

For this project we chose to use a single head wet/dry polisher, but if this project were any bigger, we’d have used a triple-head planetary polisher for faster results.

Use the lithium densifier while polishing to create a slurry to fill in air pockets as you go. This method creates a slurry that closely resembles the base mix, but if you prefer using conventional acrylic slurry, that option is always available.

Step 1 – Polish your Countertop

  • Start with a coarse 50 or 60 grit pad to remove as much material from the surface as quickly as possible. This is commonly referred to as the “cut” because you are cutting into the surface of the countertop to expose the aggregate cast into the concrete.
  • For this countertop we started with a 60 Grit Wet/Dry Polishing Pad on the Wet/Dry Variable Speed Polisher.
  • As you polish, periodically stop and check the surface to ensure that you are polishing the entire surface evenly.
  • Next, polish with the 150 grit pad. Each successive grit removes the cut marks created by the coarser pads.
  • After the aggregate is uniformly exposed, the densifying process can begin.

Step 2 – Create Slurry

  • In a spray bottle, mix 1 part LD1800 Densifying Agent with 1 part water (50/50 ratio).
  • Mist the surface with the LD1800 dilution while dry polishing with a 300 grit pad on the variable speed polisher.
  • This will create a slurry which will fill any air pockets on the surface. The densifying agent will cure to a glass-like consistency.
  • Continue polishing and misting the surface with the LD1800 dilution until the entire countertop has been polished and all the air pockets are filled.

Step 3 – Continue Polishing

  • Continue dry-polishing with higher grit pads to achieve a desired appearance. Since we are going to seal this project with a sealer that forms a topical membrane we won’t need to use pads greater than 500 grit.
  • Don’t touch the unsealed surface with ungloved hands – the natural oil on your hands will stain the concrete.

Step 4 – Before/After

  • Using the lithium densifier while polishing creates a slurry that fills in most of the small air holes in the surface.
  • The slurry is seen here as a white/grey powder. Because we want a more uniform look, the surface will be sealed with Surecrete XS-PC12, a color-enhancing sealer, which will make the white slurry much less obvious.
  • If we were using a non-color enhancing sealer, we would have used the Pro-Formula Acrylic Slurry instead of the lithium densifier.
Previous: Grinding

Use a grinder to level any high spots or aggregate that protrude above the form walls. This is also when we ease the sharp edges along the underside.

Next: Sealing

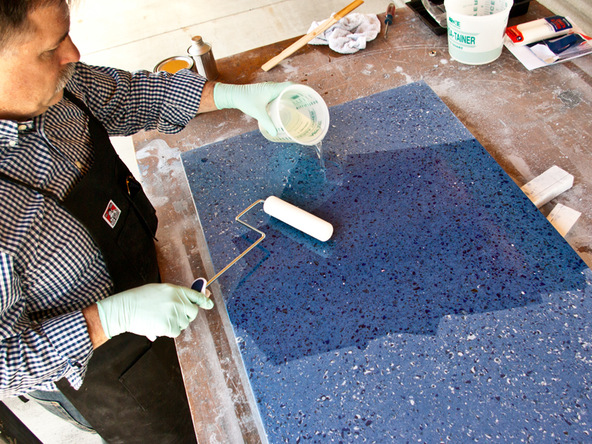
To achieve the boldest color possible, we sealed this recycled glass countertop section with a high-gloss color-enhancing sealer from Surecrete.

Leave a Reply

Your email address will not be published. Required fields are marked *