Recycled Glass Countertops

TWO: FORMING

This is a basic 3/4″ countertop slab that requires very little effort to form. Using a simple foam rail and adhesive forming system, we were able to build this entire countertop mold in less than 1 hour. The most time consuming part of this process was sealing the mold with silicone sealant.

What You’ll Need
  • Level
  • 3/4″ Melamine
  • Caulking Gun
  • 100% Silicone Caulk
  • Corner and Seam Shaping Tools
  • Concrete Countertop Forms
  • Double-Sided Carpet Tape

Step 1 – Lay Out on Melamine Form Base

  • For this 24″ x 91″ recycled glass countertop, we cut the 3/4″ melamine form base to 28″ x 95″. This allows 2″ on each side (4” total) to build the form walls.
  • Mark the form base with a pencil, laying out the 24″ x 91″ dimensions of the finished countertop.

Step 2 – Cutting Form Walls to the Correct Height

  • The CHENG Foam Form Walls and Liners are available in 2″ and 2-1/2″ heights. But for this project we need to cut them down to 3/4″.
  • Use a ruler to mark the form walls at 3/4″ high, along the length of foam.
  • Cut the excess foam off the top using a fine hand saw. If you have access to a table saw, this can easily be accomplished with precision.
  • It is not necessary to cut the form walls to length before attaching them to the melamine base. They should overlap at the corners.

Step 3 – Attach Form Walls to Form Base

  • Adhere double-stick carpet tape to the bottom of the form walls.
  • Press the form walls onto the baseboard, making sure they stay straight and true to the penciled layout marks.

Step 4 – Cut Wall Liners

  • Since the CHENG Pro-Form Wall Liners are more than 2” wide, we’ll need to trim them down to 3/4″ for use on this project.
  • Mark and cut them to 3/4″ wide. Use a razor blade or knife to mark them. This will make an easily visible cut line to follow.
  • Trim the 3/4” form liners to length, leaving them a hair short. Any gaps in the corners will be filled with silicone when sealing the mold (see Step 6 below).

Step 5 – Glue Wall Liners to Form Walls

  • The wall liners are smooth and glossy on one side, matte on the other. Spray the glossy side of the form liners with spray adhesive. Wait a few minutes.
  • Attach the liners to the form walls, with the factory edge aligned with the top of the form wall. Later you will rely on that straight factory edge to ensure the bottom side of your recycled glass countertop section is uniform and straight.
  • After the form liners are glued in place, run a bead of silicone sealant along the top of the form wall to prevent concrete from running between the foam wall sections and the wall liners.

Step 6 – Seal the Form

  • Sealing the form with a bead of 100% Silicone will make it watertight, and fill any gaps at the corners or between the liner and the form base.
  • Tooling the bead of silicone with Corner and Seam Shaping Tools produces professional-quality rounded edges. Check out the Corner and Seam Shaping Tools Guide to learn more about how we seal the form and create perfect rounded edges.
  • After the form is sealed and the silicone has cured, remove dust and debris with a vacuum or compressed air.
  • Remove silicone residue with denatured alcohol.

Step 7 – Level Form

  • Level the form before pouring to help maintain an even thickness throughout the casting.

Step 8 – Attach Vibrator to Casting Table

  • The casting table should be protected from weather and direct sunlight, preferably indoors. This is where your countertop will cure overnight.
  • For this project we used two table vibrators, one at each end of the casting table. Attach the Table Vibrators and Variable Speed Controller to the casting surface with long screws.
  • Plug the controller into a wall outlet and the vibrators into the controller. Test to make sure they are working before you start mixing.
Previous: Support

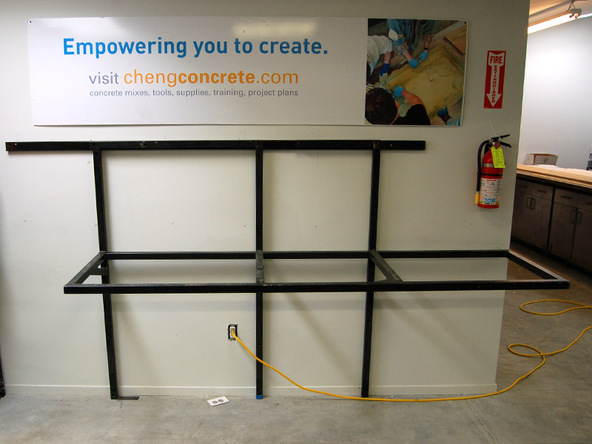
Here are a few basic rules to consider. The support must be flat, level, stable, securely anchored, and strong enough to support a heavy load.

Next: Mixing

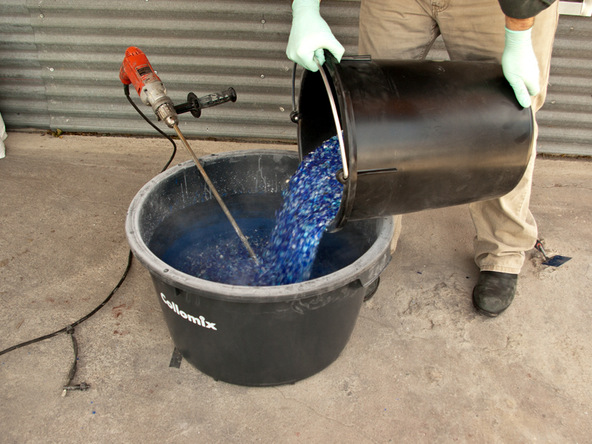
No need for a large drum style concrete mixer for this project. A 1/2″ drill motor,  equipped with a good paddle mixer, is all that’s required.

Leave a Reply

Your email address will not be published. Required fields are marked *