Precast Concrete Countertops

SIX: POLISH THE COUNTERTOP

Polishing concrete countertops can be completed with many different methods and regardless of which method you choose, dry polishing or wet-polishing, the basics are essentially the same.

Just like sanding wood, our objective is to create a smooth uniform surface that’s free of gouges, grooves, or scratches. You’ll want to consider how deep to polish/grind the surface of the concrete with an understanding that the deeper you “cut” with the polishing pads the larger the exposed aggregate will be. If your customer wants a smooth homogeneous surface with little or no aggregate exposure, then you’ll only use the higher grit diamond polishing pads like 400, 800, and 1500. But if your customer is looking for a “terrazzo” type finish, then you’ll start off with a coarse 30, 50, or 60 grit to quickly cut away unwanted material.

Step 1 – Before Polishing

  • This is an example of what the concrete surface looks like if decorative aggregates were placed into the form prior to casting. As you can see, these decorative aggregates will be the first to be exposed when the polishing process starts.
  • Don’t be alarmed by the air pockets you see in this photo. Any that remain after polishing will be filled with a color-matched slurry mixture.

Step 2 – Prepare to Polish

  • Protect all embeds and inlays, that you don’t intend to polish, with several layers of thick masking tape. Items such as coins, glazed tile, and mosaic can be easily scratched by the diamond polishing pads.

Step 3 – Polishing

  • With a maximum 4000 rpm’s, a polisher spins much slower than a typical grinder which has speeds near 13,000 rpm’s.
  • Most polishing pads cannot be used at speeds that exceed 4,000 rpm. One notable exception is Alpha’s 7 step wet/dry system.
  • If you’re new to concrete polishing, spend some time practicing on sample piece of concrete until you are confident that you can hold the polisher steady and flat against the concrete surface. Tilting, tipping, or leaning the polisher into the surface of your countertop project  is the leading cause of unwanted gouges, grooves, and scratches.
  • Sharp or rough corners and edges can be eased with diamond hand polishing pads.

Step 4 – Slurry the Countertop

  • Slurry the concrete countertop midway through the polishing process to fill any voids or air-bubble opened up while polishing.
  • Continue polishing after the slurry has cured – approximately 24 hours after application.
Previous: Demold

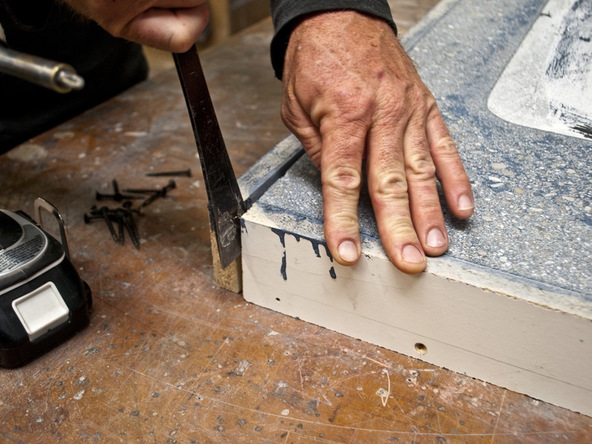
After 5 days in the mold it’s time to remove the countertop but since the concrete is still young extra care must be taken to avoid problems.

Next: Sealing

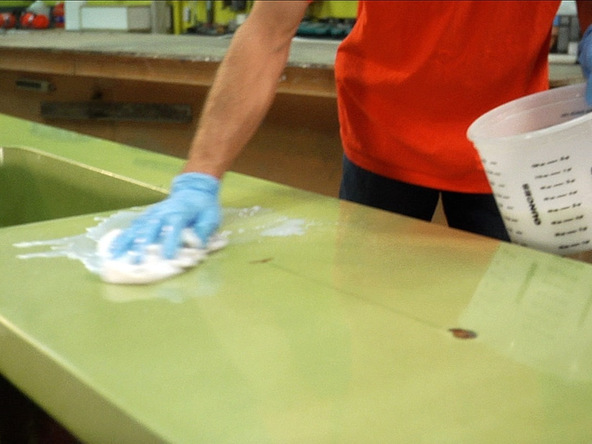
A good sealer is the best way to protect your countertop from unwanted signs of use and wear. Acidic foods like citrus and mustard will even etch concrete.

Leave a Reply

Your email address will not be published. Required fields are marked *