Precast Concrete Countertops

ONE: MAKE A TEMPLATE

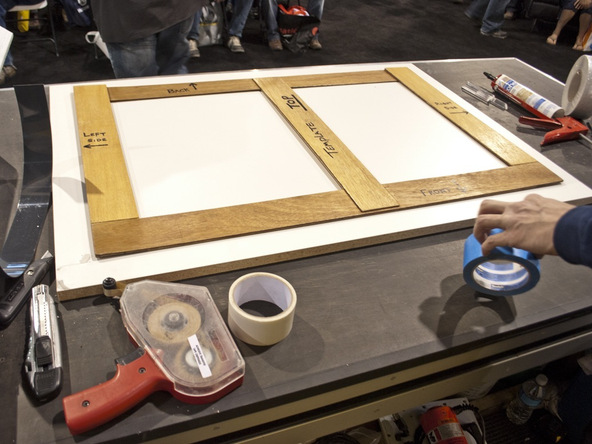
Every concrete countertop begins with a template. It’s a full-scale map of the project – an outline that will be used to form the concrete. The template is also a place to record important information about the countertop and serves as a way of recognizing potential problems before they’re cast in stone.

The template is a 2-dimensional model of the finished countertop you are building. Make the template to the exact dimensions of the finished countertop you are building and be sure to keep notes to clearly indicate any overhangs, front edges, even the sink knock-outs.

If you are replacing an existing countertop, you’ll want to remove the old countertop before making your template. In order to make a precise template you need to be working directly off the base cabinets.

Step 1 – Getting Ready
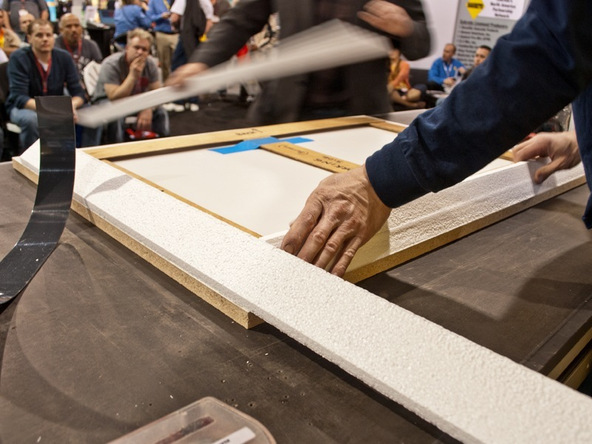
  • A template should be made from fairly rigid material to insure that there is no distortion when you transport the template back to your shop. 1/8″-1/4″ Luan plywood works well and is inexpensive.
  • Before we head out to template a job, we cut a 4’x8′ sheet of luan into 3″x8′ strips on our table saw. The strips are then scored with a utility knife and snapped to length on site.
  • In addition to the template strips, you’ll need a hot glue gun, glue sticks, masking tape and marker.

Step 2 – Assemble

  • Here we’re using  the same template methods for a tabletop as for countertops.
  • Score and snap the front and back template strips about 3/4″ short of the total length and tape them in place.
  • Squeeze a dime-sized dab of hot glue onto each corner and quickly place the side strip into location. Hold in place for 5-10 seconds until the glue is cooled.
  • After the perimeter pieces are in place, add additional template strips running front to back for additional structure. This will make your template sturdier and less prone to damage.

Step 3 – Transfer to Form

  • Flip the template over and transfer all notations to the side that was facing down while you were assembling the template.
  • To avoid confusion in our shop, we use a RED marker on the job-site and a BLACK marker to transfer notes to the flip side. This way we avoid mistakes by laying the countertop out upside-down.
  • Secure the template to the mold base with painter’s tape.
  • It’s important to note that, regardless of the forming method you use, the template should be on hand to refer to while you build the mold.
Next: Build the Form

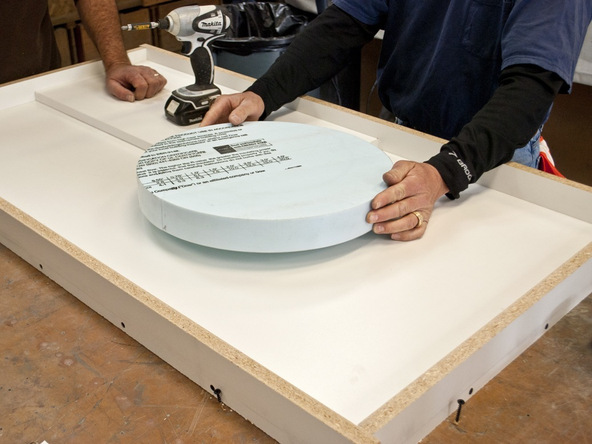
Projects destined for the polishing process are typically cast on melamine-coated particle board, an inexpensive, and readily available choice.

Leave a Reply

Your email address will not be published. Required fields are marked *